
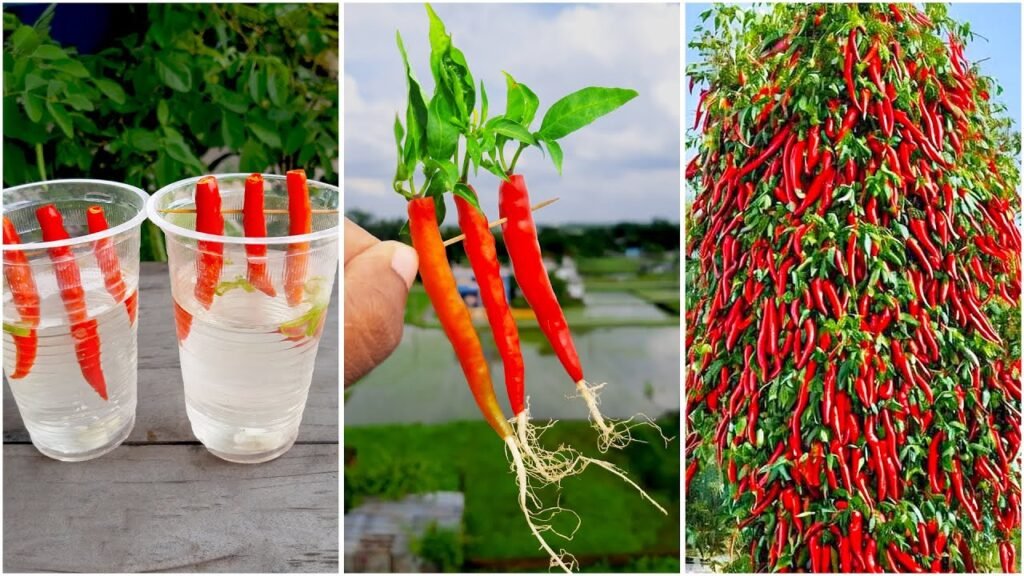
Chili peppers (Capsicum spp.) are among the most popular spices in the world, adding heat, flavor, and nutrition to a variety of dishes. Growing your own chili plants at home or in a small garden is not only rewarding but also ensures a steady supply of fresh, organic peppers. With the right techniques, even beginners can enjoy a bountiful chili harvest in just a few months.
In this comprehensive guide, we will explore the easy way to grow chili, covering everything from seed selection, planting, and care to harvesting and pest management. By following these steps, you can cultivate healthy chili plants that produce vibrant, spicy fruits year after year.
Why Grow Chili at Home?
Growing chili at home has several advantages:
- Freshness: Harvest peppers at peak ripeness for maximum flavor.
- Organic and Chemical-Free: Control over fertilizers and pesticides ensures healthier fruits.
- Cost-Effective: Reduce grocery expenses by growing your own supply.
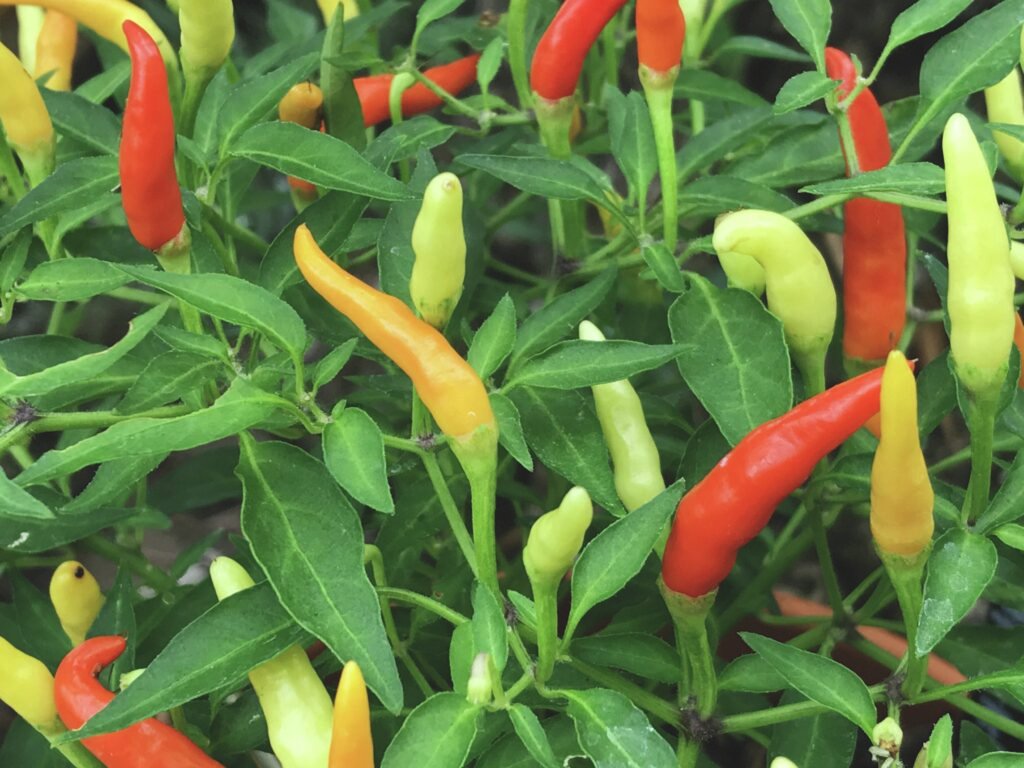
- Decorative: Chili plants with red, green, or yellow fruits add color to gardens and balconies.
- Nutritional Benefits: Chili peppers are rich in vitamins A, C, and E, antioxidants, and capsaicin, which has health benefits.
The key to a successful chili harvest is proper propagation, care, and pest management.
Step 1: Selecting Seeds and Varieties
The first step in growing chili is choosing the right seeds. Some popular varieties include:
- Cayenne: Long, thin, and moderately hot.
- Bird’s Eye Chili: Small but very hot, ideal for spicy dishes.
- Bell Chili: Mild and sweet, great for salads and cooking.
- Jalapeno: Medium heat, versatile in cooking.
Tips for Choosing Seeds
- Purchase seeds from reputable nurseries to ensure high germination rates.
- Use fresh seeds for better growth.
- Select varieties suitable for your climate.
Step 2: Preparing the Soil and Containers
Chili plants thrive in well-draining, fertile soil. They prefer slightly acidic to neutral pH (6.0–7.0).
Soil Preparation
- Mix garden soil with compost or well-rotted manure in a 2:1 ratio.
- Add a handful of sand to improve drainage.
- Ensure the soil is loose to allow roots to expand easily.
Container Planting
- Chili plants can be grown in pots, raised beds, or garden soil.
- Use containers that are at least 12 inches deep with drainage holes.
- Place containers in a sunny location that receives 6–8 hours of sunlight per day.
Step 3: Sowing Seeds
Sowing seeds correctly is essential for healthy seedlings.
Seed Planting Method
- Fill seed trays or small pots with prepared soil.
- Sow seeds about 0.5 cm deep.
- Cover lightly with soil and water gently.
- Keep the soil consistently moist but not waterlogged.
Germination
- Chili seeds germinate in 7–14 days depending on temperature.
- Maintain a warm environment (20–30°C) for faster germination.
- Use a plastic cover or mini-greenhouse to retain moisture and heat if necessary.
Step 4: Caring for Seedlings
Once seedlings emerge, proper care is crucial for strong growth.
1. Thinning
- When seedlings have 2–3 true leaves, thin them to avoid overcrowding.
- Keep only the healthiest seedlings in each pot or section of the bed.
2. Transplanting
- Transplant seedlings to larger pots or directly into the garden when they reach 6–8 inches in height.
- Space plants 12–18 inches apart to allow airflow and sunlight penetration.
3. Watering
- Water regularly to keep the soil moist, especially during dry periods.
- Avoid overwatering, as chili roots are prone to rot.
4. Fertilization
- Use organic compost or balanced NPK fertilizer (10:10:10) every 2–3 weeks.
- Fertilize more during flowering and fruiting stages for optimal yield.
Step 5: Supporting Plants
Chili plants can become top-heavy when flowering and fruiting. Provide support to prevent branches from breaking.
Support Techniques
- Use bamboo sticks or garden stakes to tie plants gently.
- For container plants, secure stakes firmly to prevent tipping.
- Prune lower leaves to improve airflow and reduce disease risk.
Step 6: Flowering and Pollination
Chili plants typically flower 6–8 weeks after transplanting.
Pollination Tips
- Most chili varieties are self-pollinating.
- Encourage pollination by gently shaking plants or using a soft brush to transfer pollen between flowers.
- Bees and other pollinators will also help increase fruit set if plants are grown outdoors.
Step 7: Pest and Disease Management
Chili plants are susceptible to pests and diseases, but proper care reduces the risk.
Common Pests
- Aphids
- Whiteflies
- Thrips
- Spider mites
Common Diseases
- Powdery mildew
- Bacterial leaf spot
- Root rot
Preventive Measures
- Use neem oil or insecticidal soap for pest control.
- Ensure good spacing and airflow between plants.
- Water at the base to avoid wetting leaves.
- Remove affected leaves promptly.
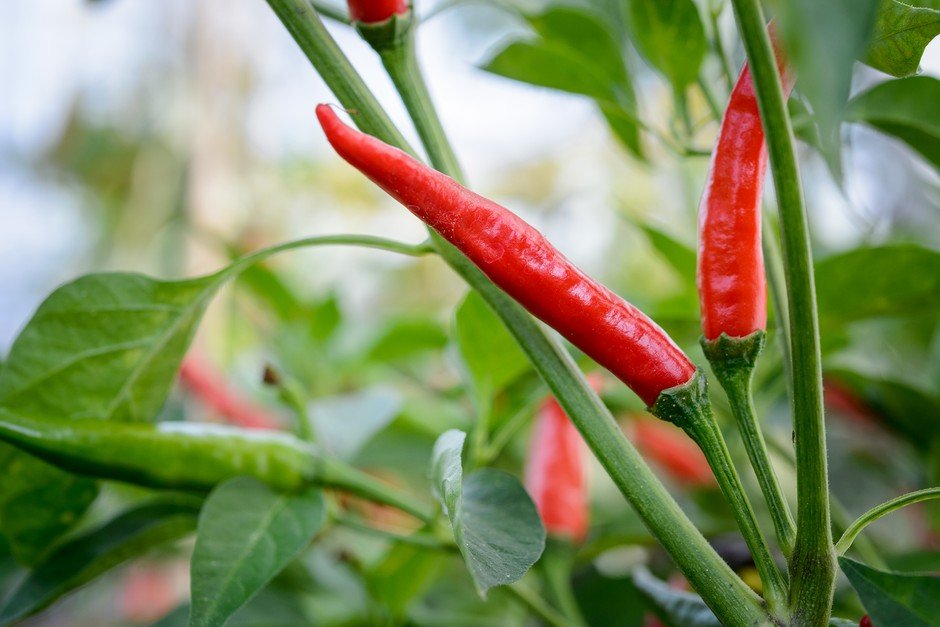
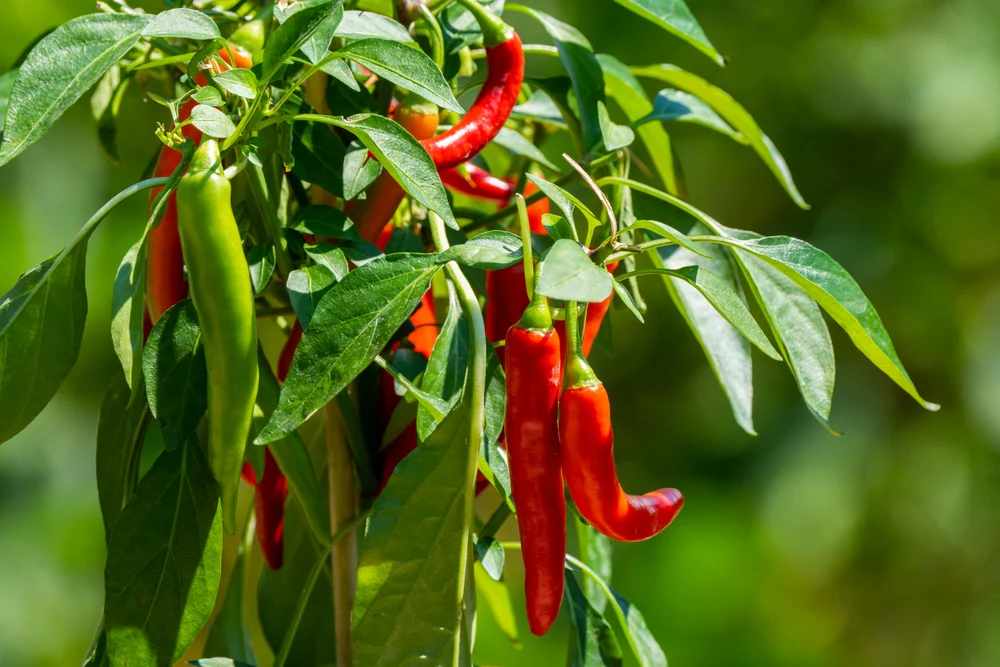
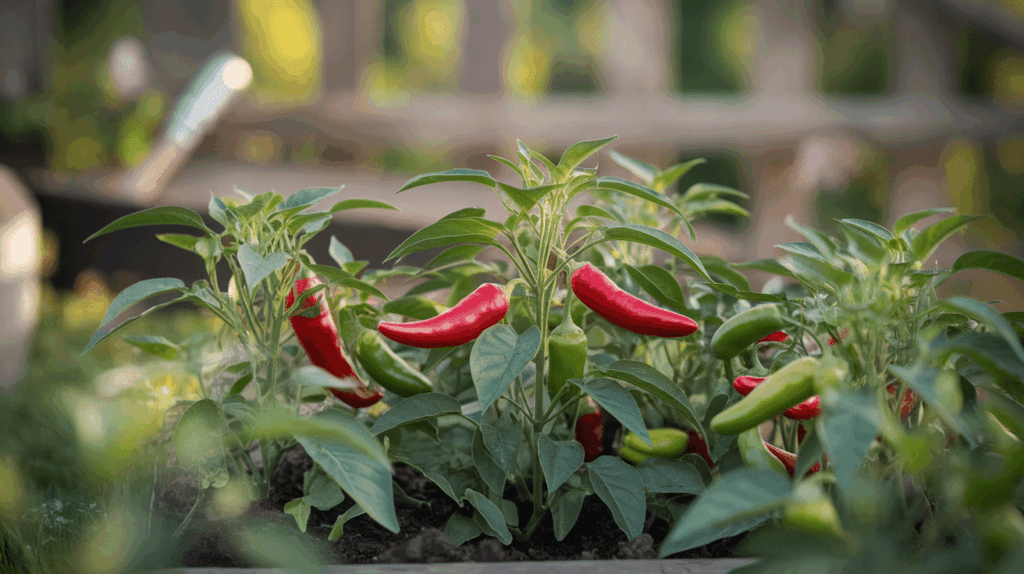
Step 8: Harvesting Chili Peppers
Chili fruits are ready to harvest 60–90 days after flowering, depending on the variety.
Harvesting Tips
- Harvest when the fruit reaches full color (green, red, yellow, or orange).
- Use scissors or garden shears to cut fruits, avoiding damage to the plant.
- Regular harvesting encourages continuous flowering and fruiting.
Step 9: Extending the Growing Season
Chili plants can produce fruit for several months with proper care.
- Remove old flowers or damaged leaves to promote new growth.
- Fertilize every 2–3 weeks during peak fruiting season.
- Protect plants from extreme cold or heavy rains.
- Rotate container placement to ensure adequate sunlight for all plants.
Extra Tips for Easy Chili Growing
- Start Indoors: Begin seeds indoors if your climate is cool, then transplant when the weather warms up.
- Companion Planting: Plant basil or marigold nearby to deter pests naturally.
- Mulching: Mulch retains moisture and reduces weed competition.
- Pruning: Remove weak or overcrowded branches to increase fruit yield.
- Consistent Care: Regular watering, fertilization, and monitoring are key to a successful harvest.
Benefits of Growing Chili at Home
- Health Benefits: High in vitamin C, antioxidants, and capsaicin.
- Culinary Uses: Adds flavor, heat, and aroma to various dishes.
- Cost Savings: Reduces the need to buy fresh chili regularly.
- Decorative Appeal: Bright chili fruits enhance garden aesthetics.
- Educational: Great for teaching kids or beginners about gardening and plant care.
Conclusion
Growing chili at home is easier than many people think. With the right seeds, proper soil preparation, careful transplanting, and consistent care, even beginners can enjoy a rich harvest of spicy, flavorful chili peppers.
By following this easy step-by-step guide, you can cultivate healthy chili plants that thrive in containers, gardens, or small orchards. From seed germination to harvesting, each stage requires attention and care, but the rewards are delicious, colorful, and nutritious fruits right from your own garden.
Start today, and experience the joy of growing chili at home, adding flavor to your meals and beauty to your garden.