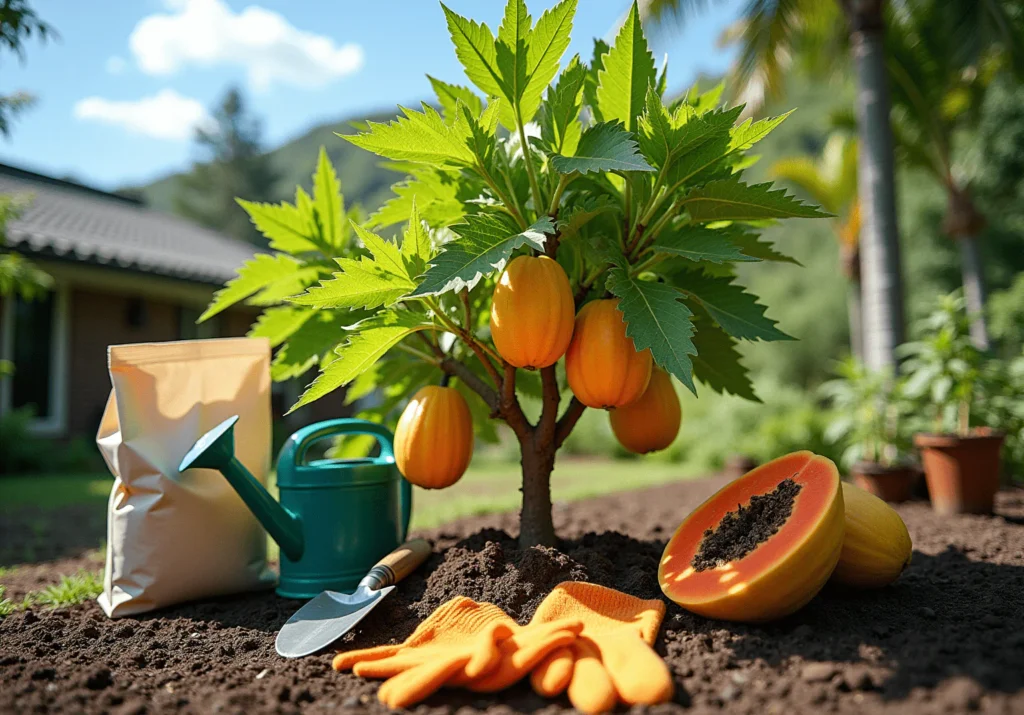
Papaya (Carica papaya) is a tropical fruit known for its sweet, juicy flesh, vibrant color, and numerous health benefits. Rich in vitamins, minerals, and digestive enzymes like papain, papaya is widely consumed fresh, in smoothies, salads, and even as natural remedies.
Growing papaya from seeds is common, but it has drawbacks: seed-grown plants can take longer to fruit, may produce inferior fruits, and may not retain the parent plant’s desired traits. Grafting papaya is a proven technique to overcome these challenges, allowing gardeners and farmers to propagate healthy, high-yielding, true-to-type plants.
In this comprehensive guide, we will cover how to graft papaya, including methods, step-by-step instructions, benefits, and care tips to ensure successful growth and abundant fruit production.
Why Grafting Papaya is Important
Grafting is more than a propagation method; it is a way to combine the best traits of two plants:
- Rootstock: Provides strong roots, disease resistance, and adaptability to soil conditions.
- Scion: Ensures high-quality fruits, uniform size, desired color, and early fruiting.
Advantages of Grafting Papaya over Seed Propagation:
- Faster Fruiting: Grafted plants can bear fruit in 6–8 months, whereas seed-grown plants may take 9–12 months.
- True-to-Type Plants: The scion retains all desirable traits of the parent plant, including taste, size, and color.
- Disease Resistance: Healthy rootstock can improve resistance to soil-borne diseases.
- Uniformity: Ideal for commercial production as all plants grow uniformly.
Grafting papaya ensures consistent yield, better fruit quality, and more productive orchards.
Common Grafting Methods for Papaya
Several grafting techniques are used for papaya propagation, including:
- Cleft Grafting – Widely used in papaya; the scion is inserted into a vertical slit in the rootstock.
- Approach Grafting – Both rootstock and scion remain partially intact during the process.
- Side Grafting (Veneer Grafting) – A scion is inserted into a side cut on the rootstock; ideal for smaller seedlings.
Among these, cleft grafting is the most common and effective for papaya.
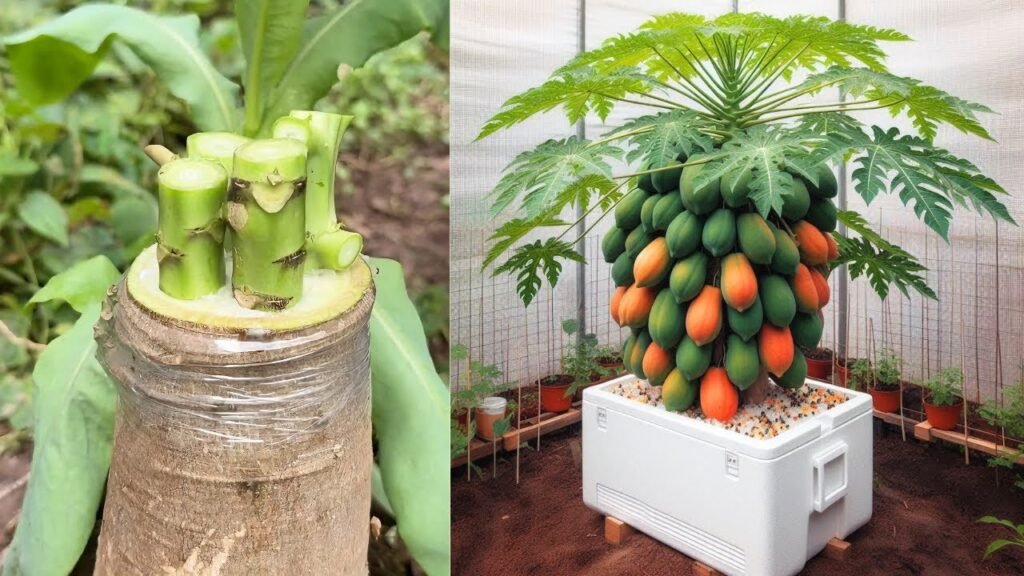
Step-by-Step Guide to Grafting Papaya
Step 1: Select Healthy Rootstock and Scion
- Rootstock: Choose a young, healthy papaya seedling (2–3 months old) or established rootstock.
- Scion: Select a healthy shoot from a high-yielding, disease-free papaya tree.
- Ensure the scion has 3–4 nodes for better growth potential.
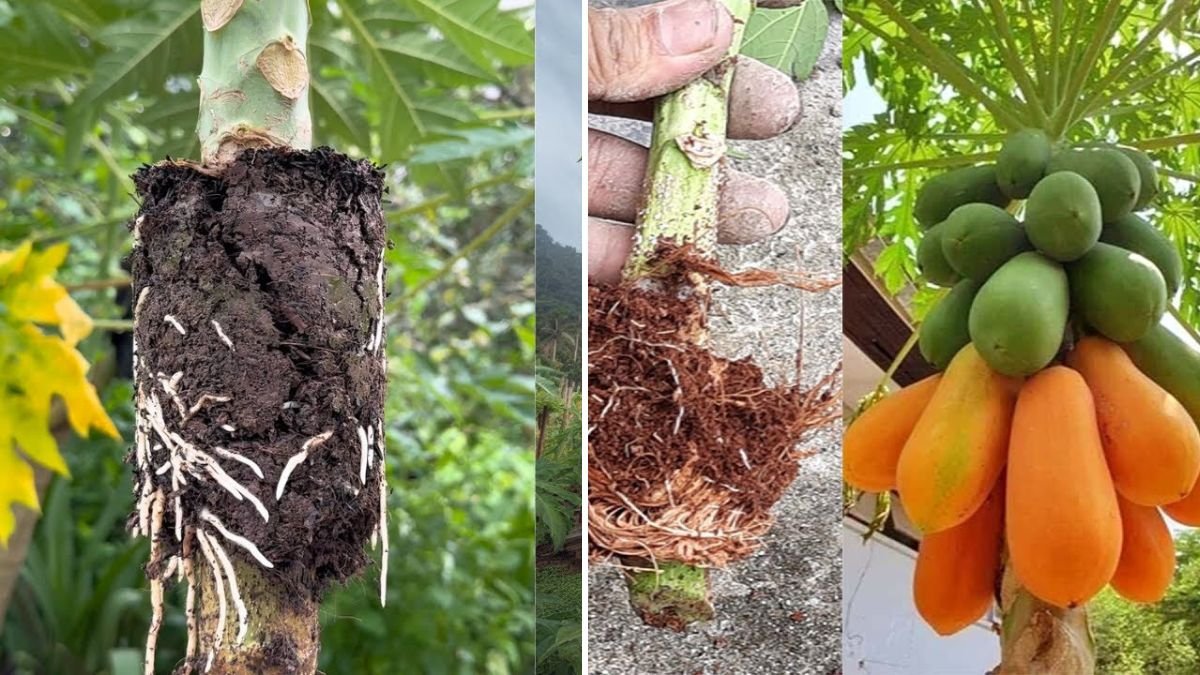
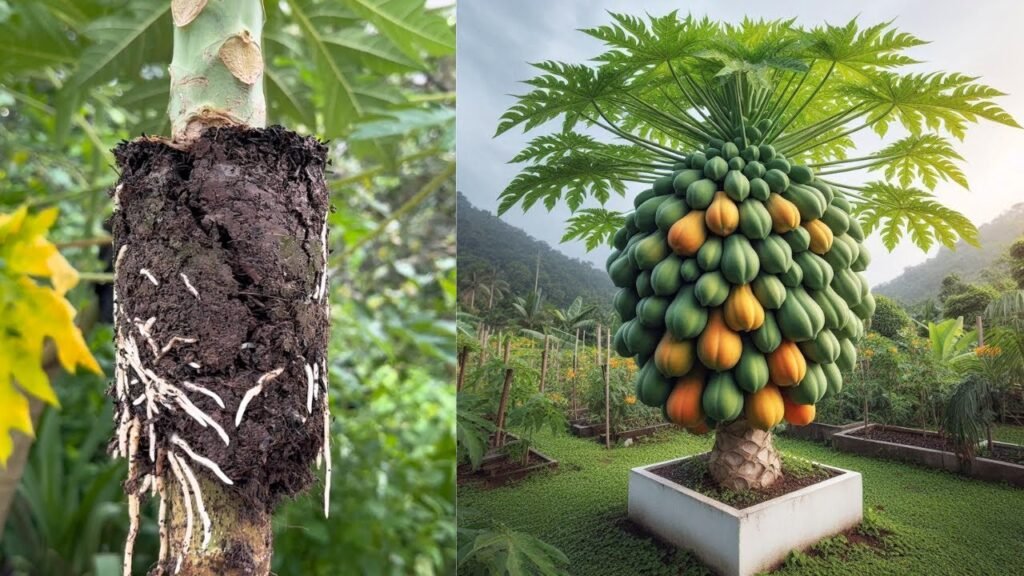
Step 2: Prepare the Rootstock
- Cut the rootstock stem about 10–15 cm above soil level.
- Make a vertical slit (2–3 cm deep) at the center of the cut.
- Ensure the slit is smooth and clean to maximize cambium contact with the scion.
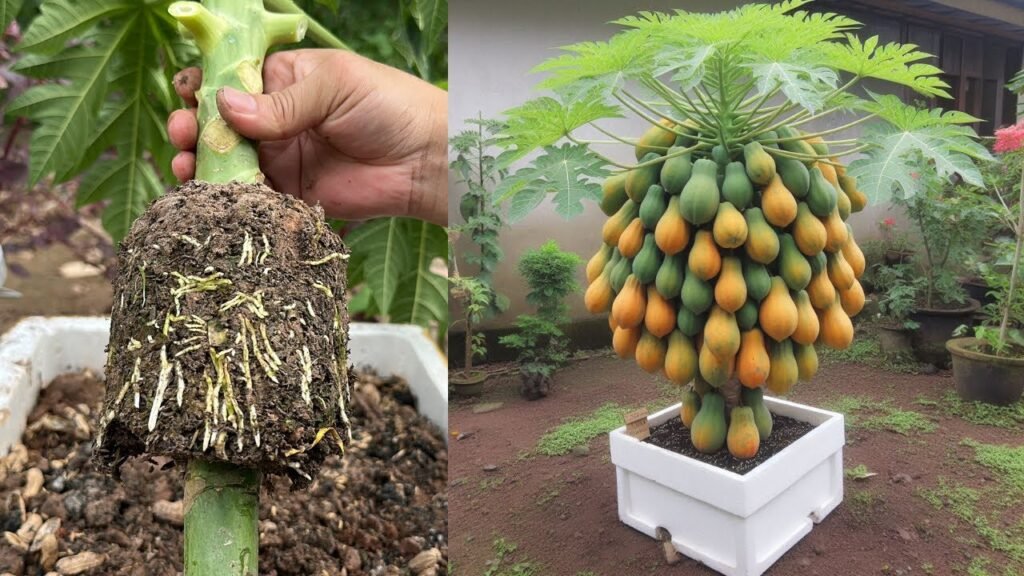
Step 3: Prepare the Scion
- Trim the scion into a wedge shape at the base to fit snugly into the rootstock slit.
- Remove lower leaves to reduce water loss.
- Optional: Dip the cut end in rooting hormone to encourage faster healing and growth.
Step 4: Insert the Scion
- Carefully insert the scion into the rootstock slit.
- Align cambium layers on both scion and rootstock to ensure successful fusion.
- The scion should fit tightly without gaps to prevent infection and water loss.
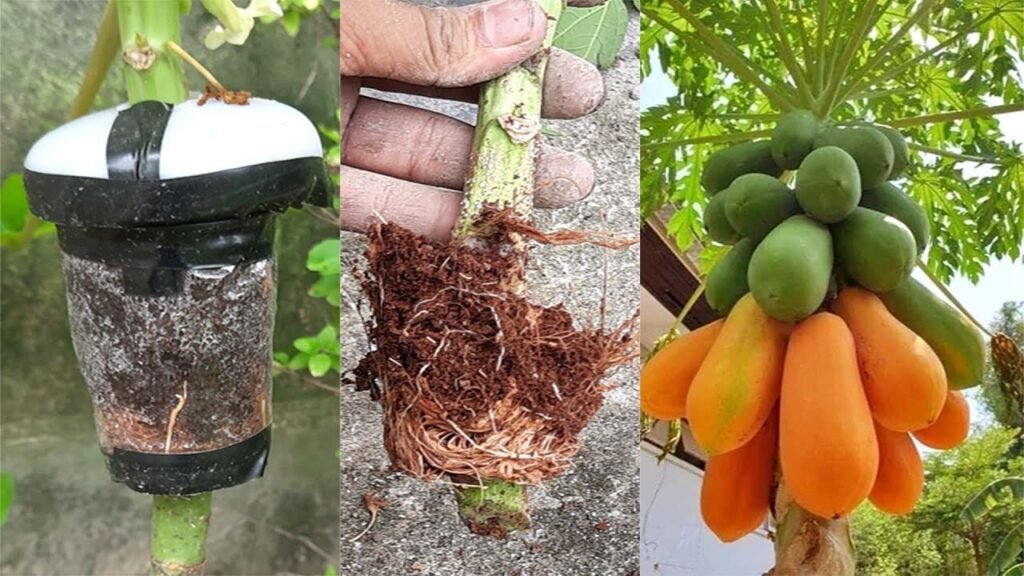
Step 5: Secure the Graft
- Wrap the graft union tightly with grafting tape, parafilm, or plastic strip.
- Cover the graft with a plastic bag or humidity dome to retain moisture.
- Keep the graft away from direct sunlight for the first few days.
Step 6: Aftercare
- Watering: Keep soil moist but avoid waterlogging. Drip irrigation works best for controlled moisture.
- Fertilization: Apply diluted organic fertilizer or compost tea weekly to stimulate growth.
- Pruning: Remove shoots from the rootstock below the graft to direct energy to the scion.
- Protection: Shield grafted plants from pests, wind, and harsh sunlight.
- Monitoring: Check the graft regularly. New leaves from the scion indicate successful grafting.
Grafts typically heal in 2–3 weeks, after which growth accelerates.
Tips for Increasing Grafting Success
- Use Healthy Materials: Always select disease-free rootstock and scion.
- Sharp Tools: Use sterilized knives or blades to prevent infection.
- Optimal Timing: Graft during warm, humid conditions for faster healing.
- Maintain Humidity: Covering the graft ensures moisture retention and reduces stress.
- Proper Alignment: Ensure cambium layers of scion and rootstock are in perfect contact.
- Avoid Stress: Keep plants well-watered and avoid exposure to extreme sunlight immediately after grafting.
Benefits of Grafting Papaya
- Faster Harvest: Fruit appears sooner compared to seed-grown plants.
- Improved Quality: Uniform fruits with desirable size, taste, and color.
- Disease Resistance: Healthy rootstock reduces the impact of soil-borne diseases.
- Efficient Land Use: Uniform growth allows for dense planting in orchards.
- Preservation of Elite Varieties: Grafting ensures rare or high-value varieties retain their traits.
Common Challenges and Solutions
| Challenge | Solution |
|---|---|
| Graft failure due to misalignment | Ensure cambium layers touch precisely |
| Scion dehydration | Cover graft with plastic bag or humidity dome |
| Pest infestation | Apply neem oil or organic pesticides around the graft area |
| Weak rootstock | Select vigorous seedlings with strong roots |
| Infection at graft site | Use sterilized tools and apply fungicide if necessary |
Harvesting and Fruiting
- Grafted papaya trees start producing fruit in 6–8 months, compared to 9–12 months for seed-grown trees.
- Regular harvesting encourages continuous flowering and fruiting.
- Use scissors or garden shears to cut mature fruits, avoiding damage to the plant.
- Maintain proper care during fruiting to prevent diseases and improve yield.
Advanced Tips for Maximizing Yield
- Mulching: Retain soil moisture and suppress weeds around the base.
- Fertilizer Management: Apply nitrogen-rich fertilizer during vegetative growth and potassium-rich fertilizer during fruiting.
- Pruning: Remove old, diseased, or overcrowded leaves to enhance sunlight penetration and airflow.
- Pest Management: Monitor for aphids, mites, and fruit flies regularly. Use organic or biological controls when necessary.
- Spacing: Plant grafted trees 2–3 meters apart to allow proper growth and sunlight access.
Conclusion
Grafting papaya is a highly effective technique for producing true-to-type, disease-resistant, and high-yielding plants. The step-by-step method outlined in this guide ensures higher success rates, faster fruiting, and stronger trees.
By following the new grafting practices—including careful rootstock and scion selection, proper cambium alignment, and meticulous aftercare—you can grow papaya trees that thrive in home gardens, nurseries, or commercial orchards.
With patience, attention to detail, and consistent care, your grafted papaya trees will reward you with sweet, juicy, and nutritious fruits year after year, making your gardening or farming journey both productive and enjoyable.