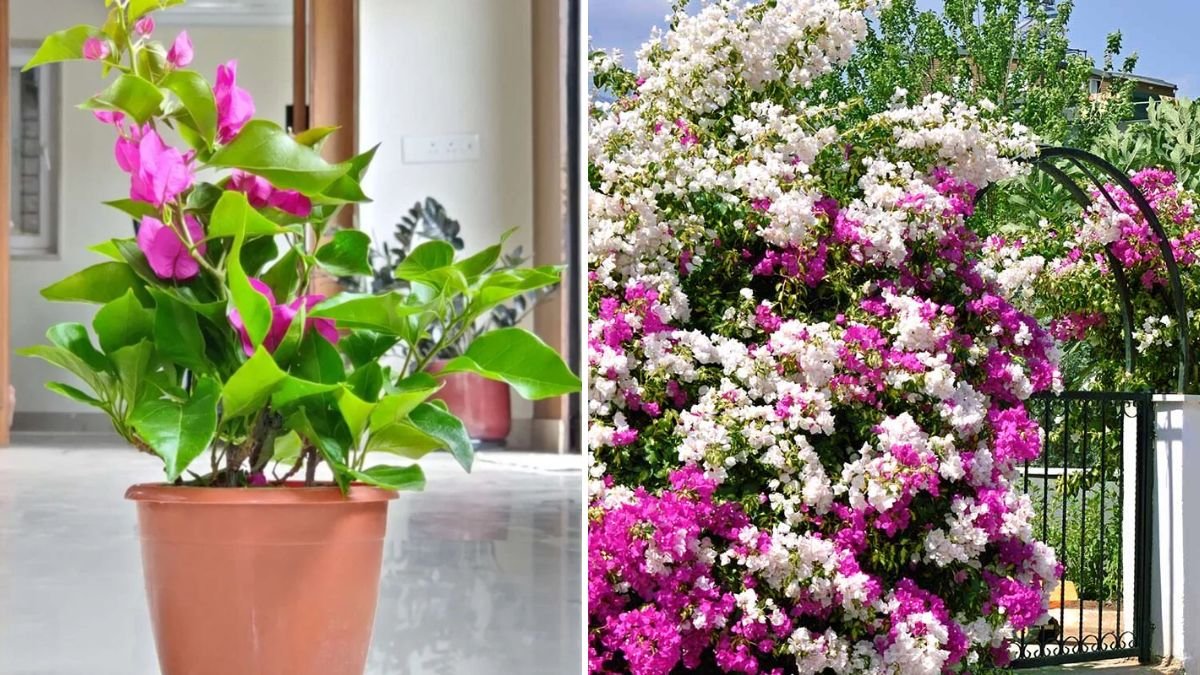
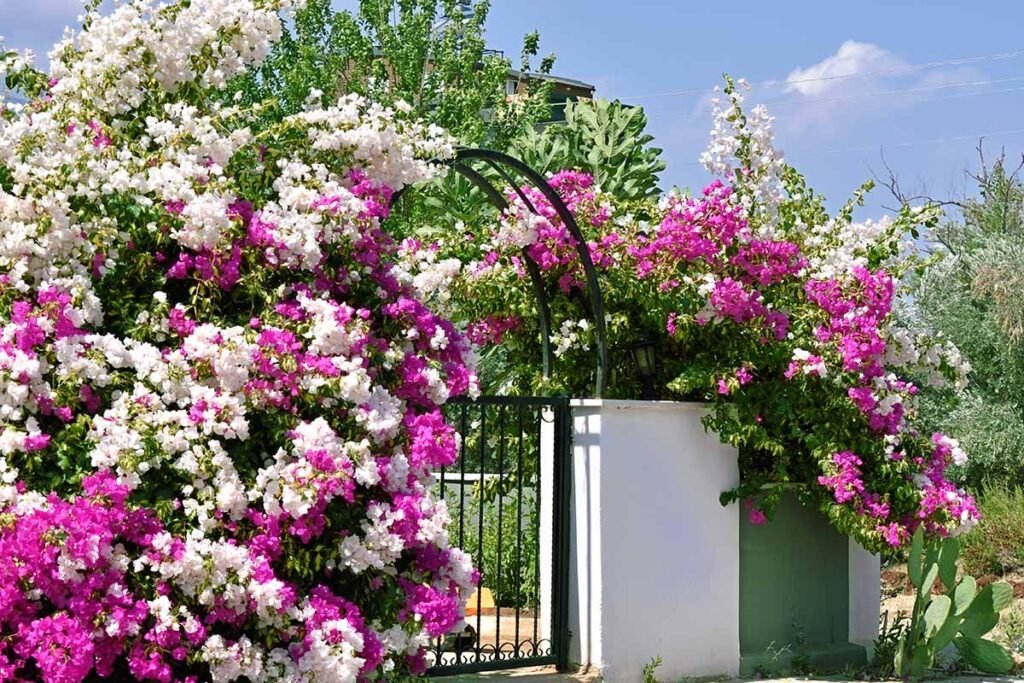
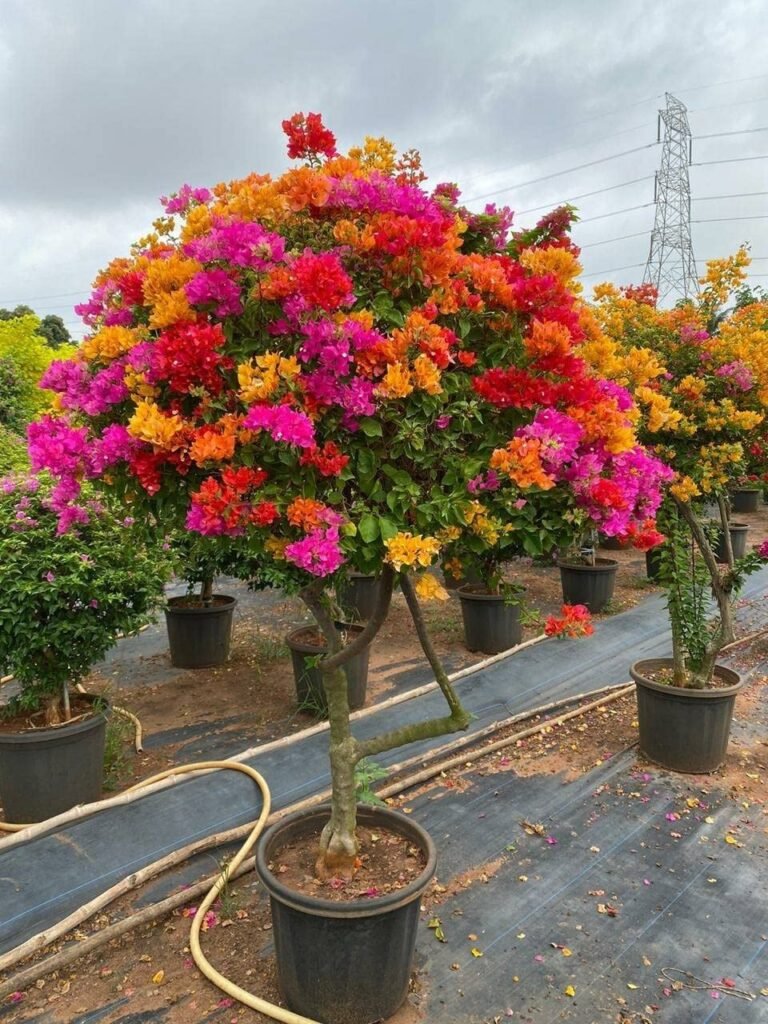
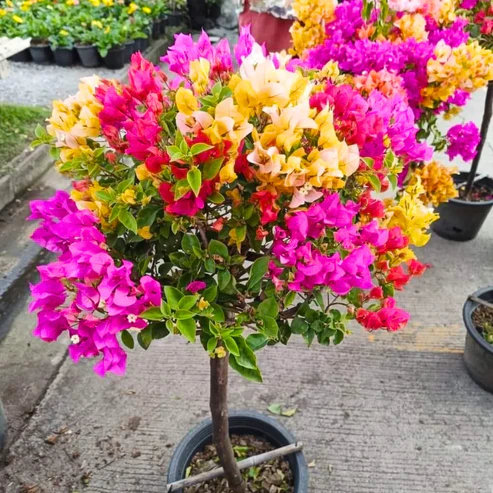
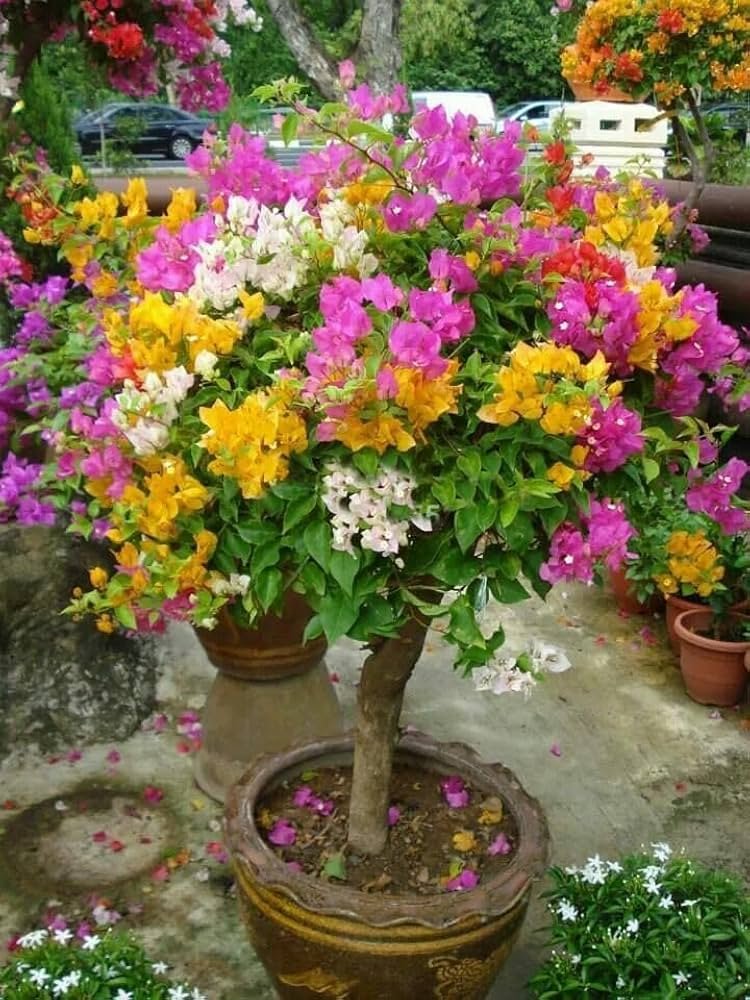
Bougainvillea is one of the most beautiful flowering plants in the world. With its bright bracts in shades of magenta, purple, red, orange, white, and pink, bougainvillea adds instant color and charm to balconies, gardens, fences, and pergolas. Because it grows vigorously and responds well to pruning, it is also one of the easiest ornamental plants to propagate.
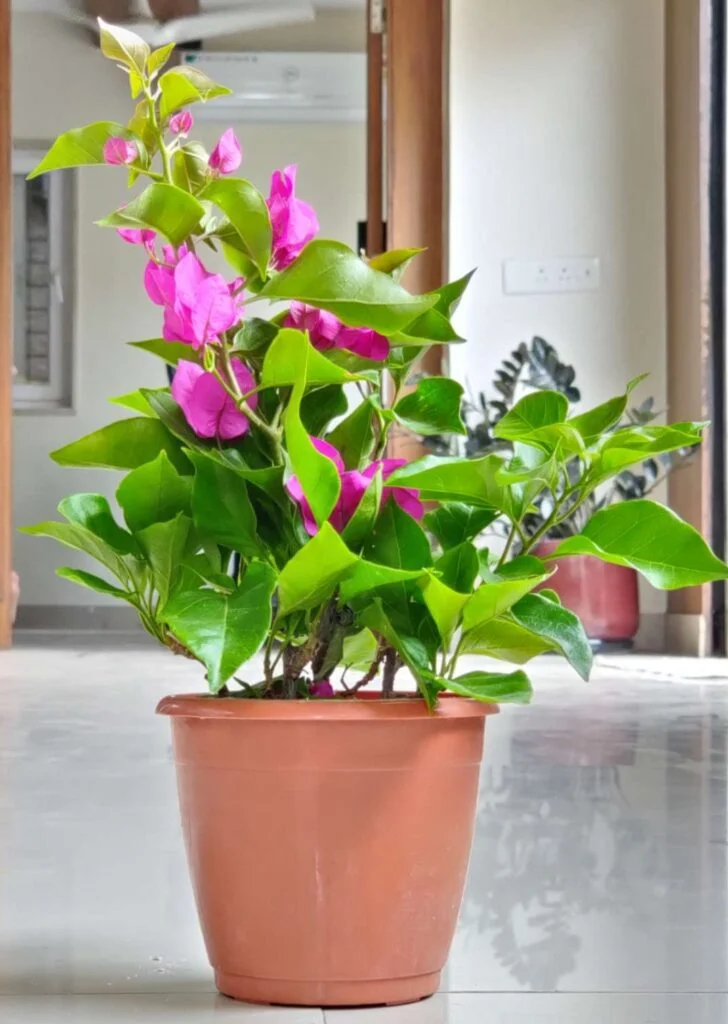
Many gardeners love bougainvillea not only for its beauty but also because it feeds on minimal care, thrives in warm climates, and can be multiplied quickly through simple propagation techniques. You do not need expensive tools or nursery plants—you can create new bougainvillea plants from a single branch.
This 1200-word guide explains everything you need to know about propagating bougainvillea, including the best methods, step-by-step instructions, common mistakes, and care tips.
Why Propagate Bougainvillea?
Propagation allows you to duplicate your favorite bougainvillea plant with zero cost.
Benefits:
- Plants remain genetically identical
- Flowers bloom earlier
- Higher success rate
- Stronger root systems
- Works even for beginners
- Can be grown in pots or ground
- Highly ornamental
- Long-lived plants
Bougainvillea is a fast-growing climber, so propagation helps you expand your garden quickly.
Best Methods to Propagate Bougainvillea
Bougainvillea can be propagated using several techniques:
- Stem Cuttings (Best & Easiest Method)
- Air Layering (Highly successful)
- Root Cuttings (Less common)
- Seeds (Not preferred)
Among these, stem cuttings produce the highest success rate with minimal effort.
1. Propagation by Stem Cuttings (Most Popular Method)
Bougainvillea roots easily from cuttings, especially when the branch is semi-hardwood.
✔ Best time:
- Spring
- Early summer
- Warm weather
Step-by-Step Cutting Method
Step 1: Choose a Healthy Branch
Select a branch that is:
- 6–8 inches long
- Semi-hardwood
- Not too soft
- No flowers
- Free from pests
- With 3–4 nodes
Avoid fresh green shoots—they rot easily.
Step 2: Make a Clean Cut
Use a sharp knife or pruning shear.
Cut:
- Bottom → 45° angle
- Top → Straight cut
Clean cuts promote faster rooting.
Step 3: Remove Leaves
Remove leaves from the lower half.
Leave:
- Only 1–2 leaves at the top
This reduces water loss.
Step 4: Apply Rooting Hormone (Optional but Helpful)
Rooting hormone:
- Speeds root development
- Increases success
- Prevents rot
Dust or gel can be used.
Step 5: Plant the Cutting
Use a pot or planting bed with:
- Garden soil
- Sand
- Cocopeat
Mix ratio:
- 50% soil
- 50% sand
Insert cutting:
- 2–3 inches deep
Firm the soil gently.
Step 6: Create a Humid Environment
Cover the pot with:
- Plastic bottle
- Plastic bag
- Transparent cover
This creates a mini greenhouse.
Leave a small gap for airflow.
Step 7: Place in Shade
Avoid direct sunlight.
Roots form in:
- 2–4 weeks
Result
Cuttings root easily and grow vigorously.
2. Propagation by Air Layering (High Success Rate)
Air layering produces stronger plants with developed roots before cutting.
Advantages:
- Very high success
- Stronger plant
- Less shock
- Faster flowering
Air Layering Steps
Step 1: Select a Healthy Branch
Choose:
- 1 cm thickness
- Healthy
- Not flowering
Step 2: Make a Ring Cut
Cut a 1-inch ring of bark.
Remove bark completely.
Scrape the green cambium layer gently.
Step 3: Apply Rooting Hormone
(optional)
Step 4: Wrap With Moist Moss
Use:
- Sphagnum moss
- Cocopeat
Keep moss:
- Moist
- Not dripping
Step 5: Cover With Plastic
Wrap tightly.
Tie both ends with:
- Rubber band
- Twine
Step 6: Protect From Sun
Cover plastic with:
- Aluminum foil
Prevents overheating.
Step 7: Wait for Roots
Roots appear in:
- 3–6 weeks
You will see:
- White roots
- Moss turning brown
- Branch becoming heavier
Step 8: Cut and Plant
Cut below the root ball.
Plant in:
- Pot
- Garden soil
3. Propagation Using Root Cuttings (Less Common)
Bougainvillea roots can also regrow new shoots.
Steps:
- Dig roots
- Cut 2–3 inch pieces
- Plant horizontally
- Keep moist
- Wait for shoots
Success is lower compared to stem cuttings.
4. Seed Propagation (Not Recommended)
Seeds grow easily but:
- Flowers differ
- Growth is slow
- Takes 2–3 years
- Not identical
Seeds are useful for:
- Experiments
- Breeding
- Nursery propagation
Best Conditions for Bougainvillea Propagation
Sunlight
- Bright light
- Indirect sun
- Avoid harsh sun during rooting
Temperature
- Warm climate
- 22–35°C
Humidity
- High humidity improves rooting
- Plastic cover helps
Soil
- Well-drained
- Sandy
- Slightly acidic
Watering Requirements
Cuttings:
- Light moisture
- Avoid soaking
Roots rot easily in wet soil.
Once rooted:
- Water deeply
- Allow soil to dry between watering
Bougainvillea loves dry soil more than wet soil.
Aftercare for New Plants
- Keep in shade for 1–2 weeks
- Water gently
- Apply organic fertilizer
- Prune lightly
- Move to sunlight gradually
- Protect from wind
Pruning Tips for Bougainvillea
Pruning encourages:
- More flowers
- Dense growth
- Strong branches
Tips:
- Cut after flowering
- Remove dead wood
- Keep shape compact
- Cut 1/3rd of branch
Bougainvillea blooms on new growth, so pruning helps.
How Long Until Bougainvillea Blooms?
| Propagation Method | Time |
|---|---|
| Cuttings | 6–12 months |
| Air layering | 6–9 months |
| Seeds | 2–3 years |
Cuttings and layering flower much faster.
Common Problems During Propagation
1. Cuttings rot
Cause:
- Too much water
- Poor ventilation
Fix:
- Reduce water
- Increase airflow
2. No roots form
Cause:
- Branch too soft
- Wrong season
- No hormone
Fix:
- Choose semi-hardwood
- Apply hormone
3. Leaves dry
Cause:
- Low humidity
Fix:
- Cover with plastic
4. Plant becomes weak
Cause:
- Poor soil
- Overwatering
Fix:
- Improve drainage
Tips for Maximum Success
✅ Use sharp tools
✅ Choose healthy branches
✅ Keep humidity high
✅ Avoid direct sun
✅ Keep soil slightly moist
✅ Use rooting hormone
✅ Prune regularly
✅ Provide full sun after rooting
✅ Fertilize monthly
Final Thoughts
Propagating bougainvillea is one of the most satisfying gardening tasks because the results are quick, vibrant, and rewarding. With methods like stem cuttings and air layering, you can create beautiful flowering plants at almost no cost.
Bougainvillea thrives on warmth, bright light, and careful pruning, making it ideal for balconies, gardens, fences, and pergolas. Once established, it will reward you with year-round color and breathtaking blooms.
Whether you’re a beginner or experienced gardener, learning to propagate bougainvillea opens the door to an endless supply of flowering beauty.