Growing your own bay leaf (Tej Patta) plants can be a rewarding endeavor that not only beautifies your garden but also provides you with fresh, aromatic leaves for your culinary adventures. Bay leaves are often used in cooking for their distinctive taste and fragrance, making them a valuable addition to your herb garden. In this article, we will explore the simple steps to grow bay leaf plants at home and address some frequently asked questions to help you along the way.
Benefits of Growing Bay Leaf at Home
Before diving into how to grow bay leaf at home, let’s take a moment to discuss why you should consider adding this herb to your garden.
-
Culinary Use: Fresh bay leaves add depth to soups, stews, sauces, and even marinades. The flavor is subtle yet complex, contributing to a variety of dishes.
-
Health Benefits: Bay leaves are known for their potential anti-inflammatory, antioxidant, and digestion-aiding properties.
-
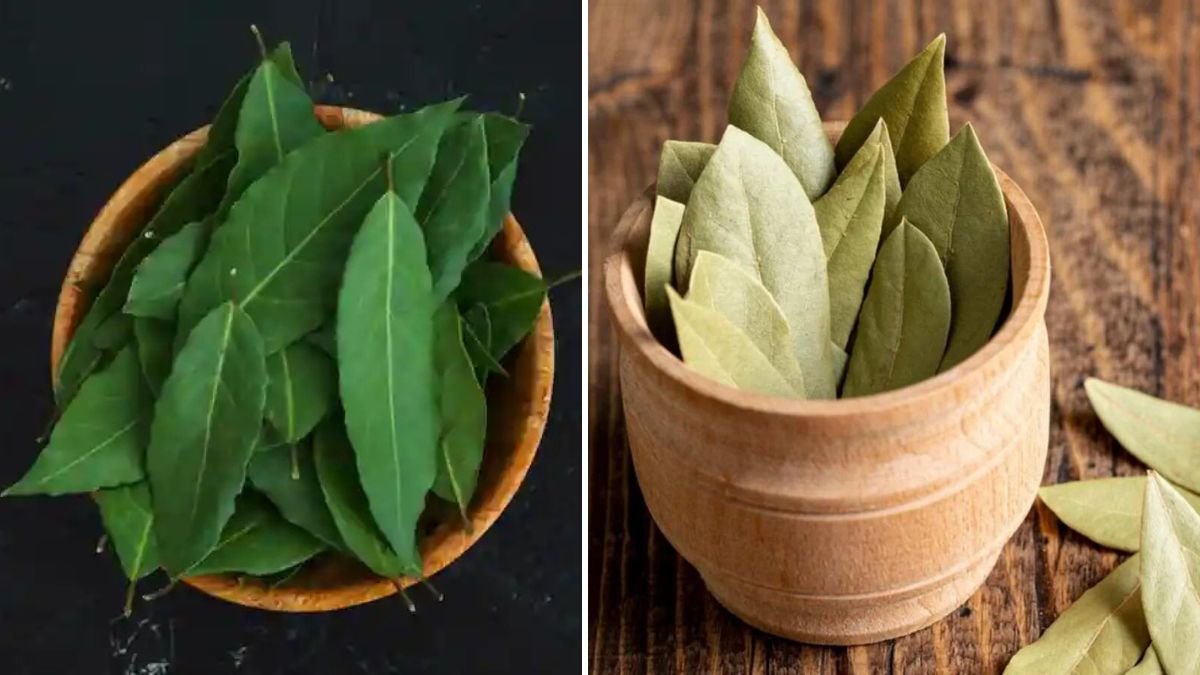
Aesthetic Appeal: The glossy, dark green leaves of the bay tree are not only useful but also beautiful, enhancing the visual appeal of your garden.
-
Easy to Grow: Bay leaf plants are relatively easy to care for, making them suitable for both novice and experienced gardeners.
Step-by-Step Guide to Growing Bay Leaf at Home
Step 1: Choose Your Bay Leaf Variety
There are two main types of bay leaves:
-
Laurus nobilis: This is the traditional Mediterranean bay leaf known for its strong aroma and flavor.
-
California Bay (Umbellularia californica): This variety has a stronger flavor and aroma, often used similarly in cooking.
Choose the variety that suits your culinary preferences and local climate.
Step 2: Selecting the Right Location
Bay leaf plants can be grown indoors or outdoors, but they require a warm, sunny location.
- Indoors: Place your pot near a south-facing window where it receives plenty of sunlight.
- Outdoors: Choose a spot that gets full sun (at least 6-8 hours a day) and offers some protection from strong winds.
Step 3: Soil Preparation
Bay leaf plants thrive in well-draining soil. Here’s how to prepare the soil:
-
Soil Mix: Use a mix of potting soil, sand, and perlite to ensure good drainage. A recommended ratio is 2:1:1 (two parts potting soil, one part sand, one part perlite).
-
pH Level: Aim for a slightly acidic to neutral pH (6.0 to 7.0).
-
Fertilization: Incorporate organic compost into the soil mix to provide nutrients for healthy growth.
Step 4: Planting Bay Leaf
You can start growing bay leaves from seeds, cuttings, or established plants.
4.1. Growing from Seeds
-
Scarification: Bay leaf seeds have a hard outer shell. To improve germination, soak them in water for 24 hours or gently rub them with sandpaper.
-
Sowing: Plant the seeds about 1 inch deep in the prepared soil. Water the soil lightly to keep it moist.
-
Germination: Keep the soil warm and moist. Germination usually takes 2-3 weeks.
4.2. Growing from Cuttings
-
Select Healthy Cuttings: Take a 6-8 inch cutting from a healthy bay leaf plant, ensuring it has at least a couple of leaves.
-
Rooting Hormone: Dipping the cut end in rooting hormone can enhance the chances of successful rooting.
-
Planting: Place the cutting in a pot with the prepared soil and water it lightly. Covering the pot with plastic can help maintain humidity.
-
Care: Bi-weekly, check for moisture and roots (which usually take a few weeks to develop).
4.3. Purchasing an Established Plant
If you prefer to skip the propagation stage, you can purchase a young bay laurel plant from a nursery. Make sure to check for pests or diseases before bringing it home.
Step 5: Watering and Care
Bay leaf plants prefer to dry out slightly between waterings. Here’s how to care for them:
-
Watering: Water when the top inch of soil feels dry. Be careful not to overwater, as this can lead to root rot.
-
Humidity: While bay leaves enjoy humidity, they do not require it excessively. A regular home environment is usually sufficient.
-
Pruning: Prune the plant regularly to encourage bushier growth and remove any dead or yellowing leaves.
Step 6: Fertilization
Feed your bay leaf plant with a balanced fertilizer every 4-6 weeks during the growing season (spring and summer). Follow the instructions on the fertilizer package for the best results.
Step 7: Harvesting Bay Leaves
The great thing about growing bay leaves is that you can continuously harvest them without damaging the plant.
-
Timing: Wait until the plant is at least one year old before beginning to harvest.
-
Method: Use scissors to snip off a few leaves at a time. Be sure to leave enough foliage for the plant to grow and thrive.
-
Drying Leaves: To preserve the flavor, dry the leaves in a cool, dark place. Store dried leaves in an airtight container.
Step 8: Winter Care
In colder climates, bay leaf plants should be brought indoors during winter. Keep them in a well-lit area and reduce watering, as their growth will slow down in response to lower light and temperature.
FAQs About Growing Bay Leaf (Tej Patta)
1. Can bay leaves be grown indoors?
Yes, bay leaves can be grown indoors as long as they receive enough sunlight, preferably from a south-facing window.
2. How long does it take for bay leaf seeds to germinate?
Bay leaf seeds usually germinate in about 2 to 3 weeks under warm, moist conditions.
3. What are the signs of overwatering in bay leaf plants?
Signs of overwatering include yellowing leaves, wilting, and a musty odor from the soil.
4. How often should I fertilize my bay leaf plant?
Feed your bay leaf plant every 4-6 weeks during the growing season (spring and summer) with a balanced fertilizer.
5. Can I use fresh bay leaves in cooking?
Yes, fresh bay leaves can be used in cooking just like dried ones, though the flavor may be more intense when fresh.
6. How should I store dried bay leaves?
Store dried bay leaves in an airtight container in a cool, dark place. They can last for several months.
7. Is bay leaf safe for pets?
Bay leaves are generally considered toxic to pets. Keep them out of reach or ensure your pets do not consume them.
Conclusion
Growing bay leaf (Tej Patta) at home is a simple and rewarding process that can enhance both your garden’s beauty and your culinary endeavors. By following these straightforward steps, you’ll be well on your way to cultivating this aromatic herb. Whether you choose to grow from seeds, cuttings, or an established plant, remember to provide the right environment, care, and harvesting techniques. Enjoy your journey into the world of bay leaves!
By following these steps and tips, you can successfully grow your own bay leaves at home and enjoy their many benefits. Happy gardening!