Melons are one of the most rewarding fruits to grow in a home garden. Their sweet, juicy flesh and refreshing flavor make them a favorite in summer, while growing your own ensures fresh, chemical-free fruit. Planting melon seedlings correctly is crucial for strong vine growth, healthy flowering, and a bountiful harvest. This guide provides a detailed, step-by-step approach to planting melon seedlings successfully in your garden—from selecting seedlings to care and harvest.
Why Plant Melon Seedlings Instead of Direct Seeding?
Many gardeners prefer starting with seedlings instead of sowing seeds directly. The advantages include:
1. Faster Growth
Seedlings have a head start and can produce fruit earlier than direct-sown seeds.
2. Higher Survival Rate
Young seedlings are stronger and more resilient, reducing losses due to pests, diseases, or unfavorable weather.
3. Controlled Environment
Seedlings can be started indoors or in a nursery, ensuring optimal germination conditions before transplanting outdoors.
4. Better Management
It’s easier to monitor soil, nutrients, and watering for seedlings compared to seeds directly sown in the garden.
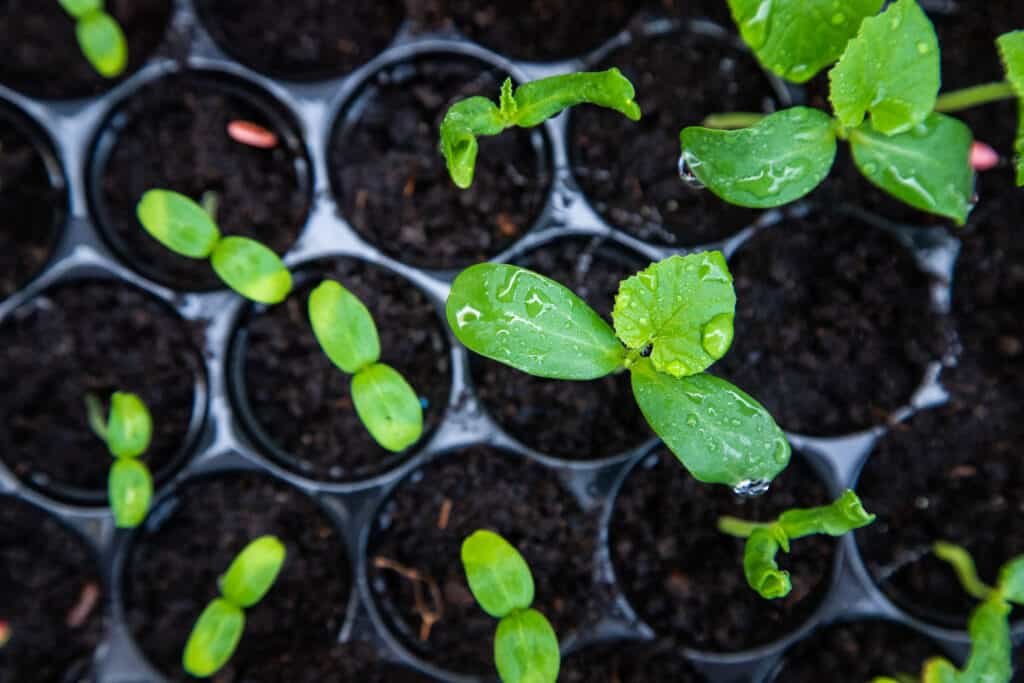
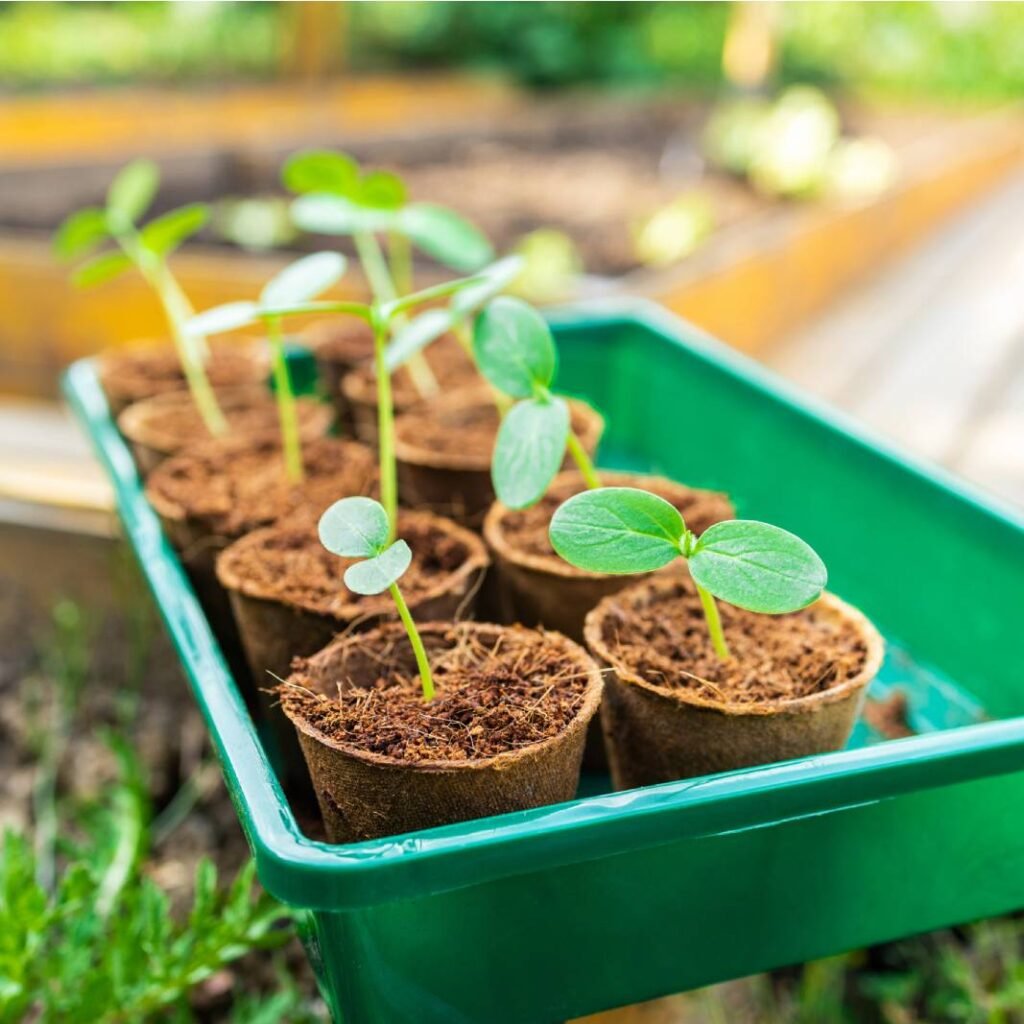
Step 1: Choosing Healthy Melon Seedlings
The foundation of a successful melon harvest is strong, healthy seedlings.
Seedling Selection Tips
- Look for vibrant green leaves with no yellowing or spots.
- Ensure the seedling has 2–3 true leaves (beyond the initial cotyledons).
- Avoid seedlings that are leggy or weak, as they may struggle after transplanting.
- Roots should be well-developed but not root-bound.
Recommended Varieties
- Cantaloupe
- Honeydew
- Watermelon (small or bush varieties)
- Galia melon
Select varieties suited to your climate and garden space.
Step 2: Preparing the Garden Bed
Melons are sprawling plants that require fertile soil and plenty of sunlight.
Ideal Garden Conditions
- Soil type: Loose, well-draining sandy loam or loamy soil
- pH: Slightly acidic to neutral (6.0–7.0)
- Sunlight: Full sun for at least 6–8 hours daily
Bed Preparation
- Clear the garden area of weeds, rocks, and debris.
- Loosen the soil to a depth of 12–15 inches for healthy root growth.
- Incorporate compost or well-rotted manure to improve fertility.
- Create mounds or raised beds if the area is prone to waterlogging.
Step 3: Transplanting Melon Seedlings
Proper transplanting ensures seedlings adapt quickly and start growing vigorously.
Step-by-Step Process
- Water seedlings a few hours before transplanting to reduce stress.
- Dig holes slightly larger than the root ball, spaced 2–3 feet apart for bush melons and 3–4 feet for sprawling varieties.
- Carefully remove seedlings from trays or pots, avoiding root damage.
- Place the seedling in the hole, ensuring the root crown is level with the soil surface.
- Backfill gently and firm the soil around the base to eliminate air pockets.
- Water immediately to help roots settle.
Tip: Transplant on a cloudy day or in the late afternoon to reduce transplant shock.
Step 4: Watering After Transplanting
Watering is critical during the first few weeks after transplanting.
Watering Guidelines
- Keep the soil evenly moist, not waterlogged
- Water daily for the first week, then gradually reduce as seedlings establish
- Avoid wetting leaves directly to prevent fungal infections
Mulching
Apply a layer of straw, dry leaves, or grass clippings around seedlings to retain soil moisture, suppress weeds, and regulate temperature.
Step 5: Fertilizing for Healthy Growth
Melons are heavy feeders, requiring consistent nutrition for leaf, vine, and fruit development.
Fertilizer Recommendations
- Organic: Compost, vermicompost, cow manure
- Balanced NPK fertilizer: 10:10:10 at half-strength
- Natural boosters: Banana peel powder, fish emulsion, wood ash
Fertilizing Schedule
- Initial growth (0–3 weeks): Nitrogen-rich fertilizer to encourage leaves and vine development
- Flowering stage (3–6 weeks): Balanced fertilizer to support flower formation
- Fruit development stage (6+ weeks): Potassium-rich fertilizer to improve fruit size, sweetness, and quality
Step 6: Supporting Vine Growth
Melons are sprawling plants that need space and support for optimal growth.
Support Tips
- Use trellises for vertical growth to save space
- Allow lateral vines to spread on the soil if horizontal space is available
- Tie vines loosely to prevent damage from wind or heavy fruits
Pruning
- Prune unnecessary lateral shoots to direct energy toward flowers and fruit
- Remove yellowing or dead leaves to improve airflow and reduce disease risk
Step 7: Pest and Disease Management
Melon seedlings are vulnerable to pests and diseases, particularly in the early stages.
Common Pests
- Aphids: Spray neem oil or mild soap solution
- Red mites: Neem oil or garlic spray
- Fruit flies: Cover young fruits with cloth or net
Common Diseases
- Powdery mildew: Provide good air circulation and avoid wetting leaves
- Fusarium wilt: Prevent overwatering and use disease-free soil
- Downy mildew: Spray neem or copper-based fungicides if necessary
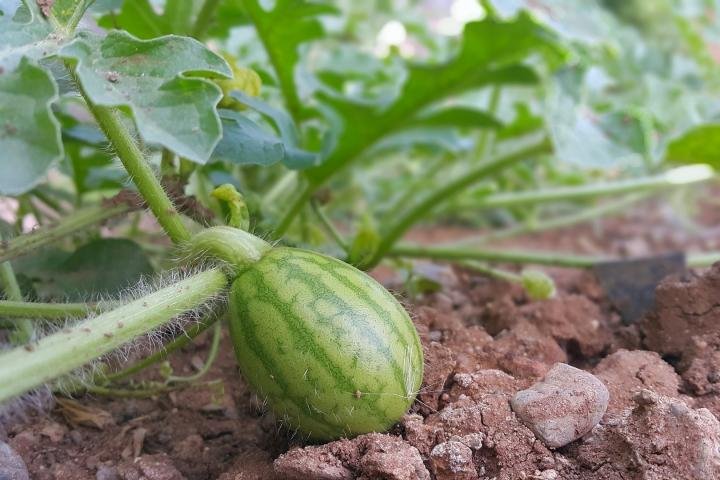
Step 8: Flowering and Pollination
Melons produce separate male and female flowers. Successful pollination is essential for fruit formation.
Pollination Tips
- Bees and insects naturally pollinate melons
- Hand pollination ensures more fruits in gardens with few pollinators: gently transfer pollen from male to female flowers using a soft brush
Maximizing Fruit Production
- Limit initial fruit set to 2–3 per plant to encourage larger fruits
- Gradually allow more fruits as the plant strengthens
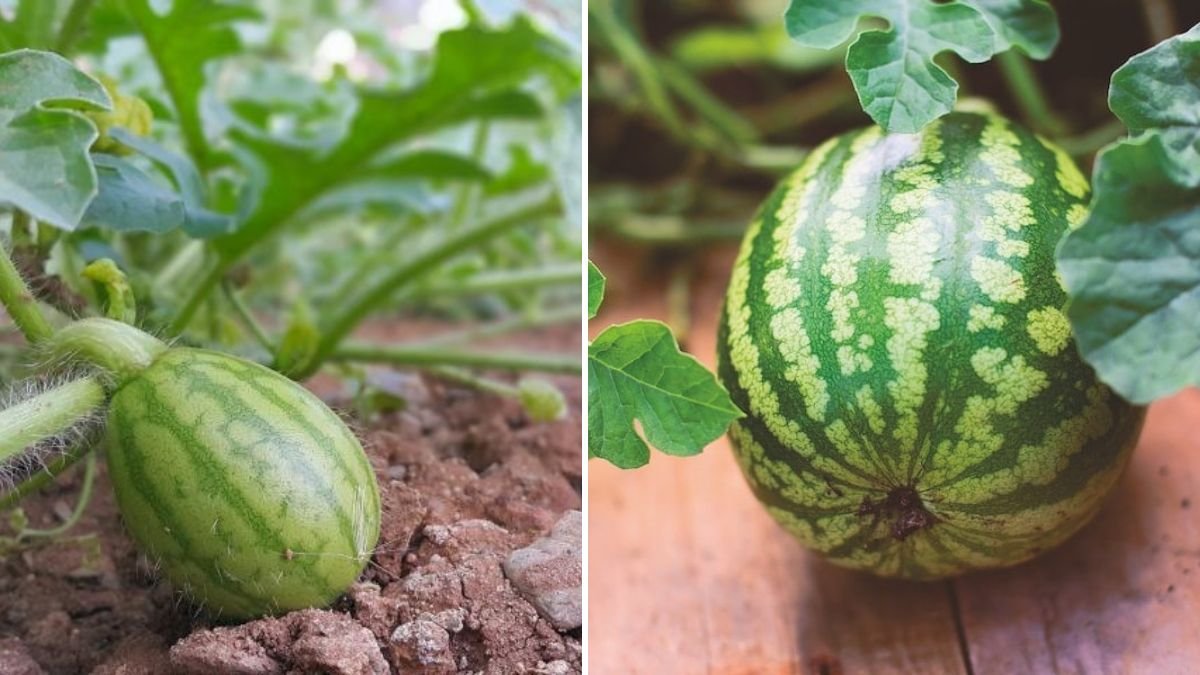
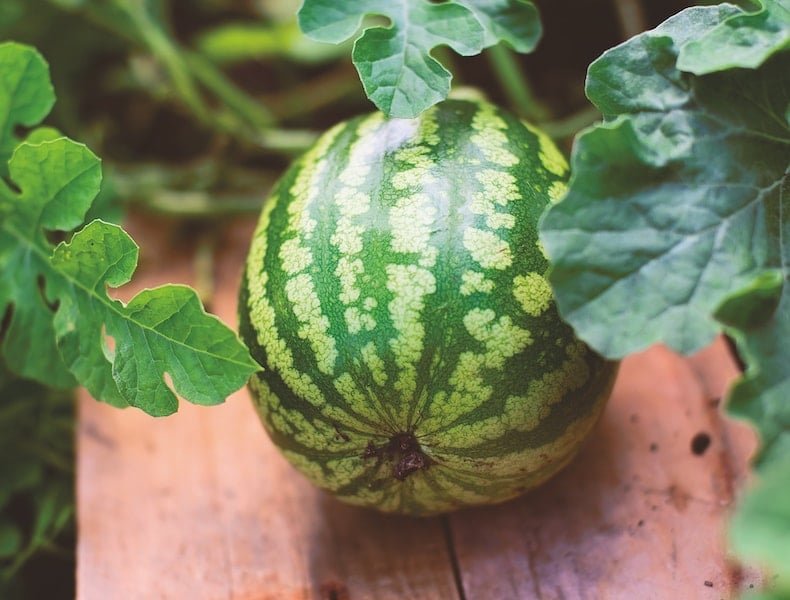
Step 9: Harvesting Melons
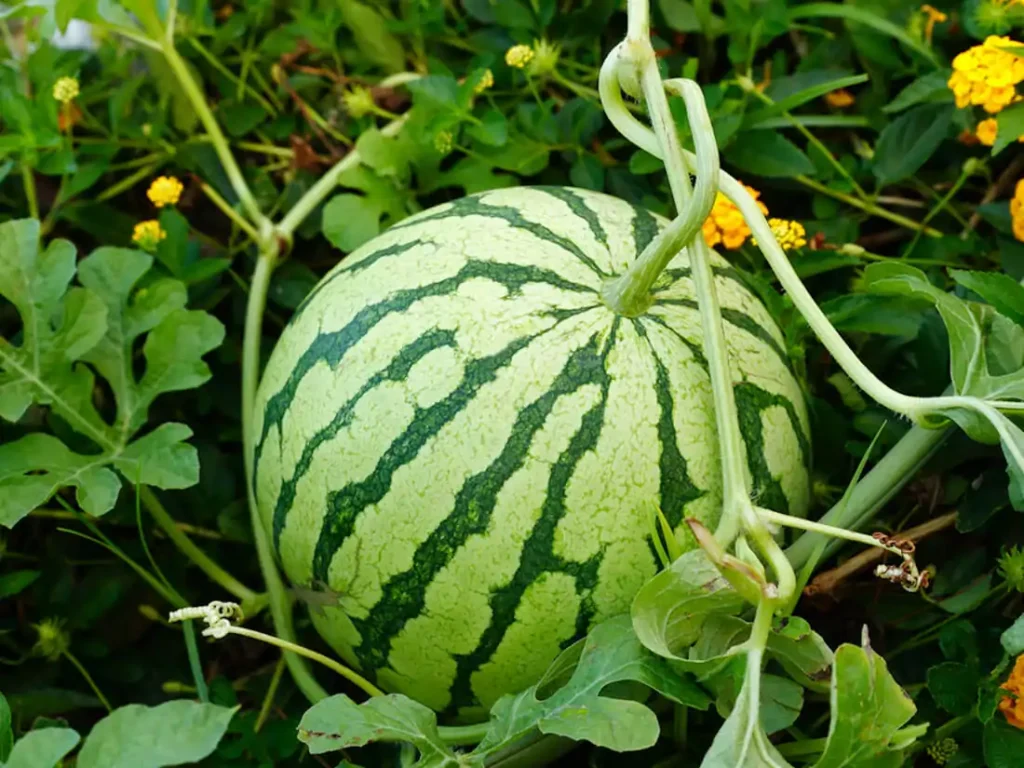
Melons are usually ready to harvest 70–90 days after transplanting, depending on the variety.
Signs of Ripeness
- Color changes according to variety (cantaloupe: orange, honeydew: light green)
- Fruit emits a sweet aroma
- Tendril near fruit dries naturally
- Fruit separates easily when gently lifted
Harvesting Tips
- Use a sharp knife to cut fruit from the vine
- Leave a small stem attached for longer shelf life
- Handle fruits carefully to avoid bruising
Benefits of Proper Seedling Planting
- Faster and stronger growth compared to direct sowing
- Higher fruit yield and quality
- Better disease resistance and reduced seedling mortality
- Efficient use of garden space
- Continuous harvest by staggering transplanting times
Bonus Tips for Success
- Water in the morning to prevent fungal growth in the evening
- Apply mulch to regulate soil temperature
- Rotate crops annually to maintain soil fertility and reduce disease
- Provide support for vines early to avoid breakage
- Use organic fertilizers for better taste and environmental sustainability
Conclusion
Planting melon seedlings successfully in your garden is the key to a bountiful, sweet harvest. By selecting healthy seedlings, preparing fertile soil, transplanting carefully, and providing proper care—including watering, fertilization, pruning, and pest management—you can enjoy juicy, chemical-free melons throughout the season.
Starting with seedlings not only accelerates growth but also ensures higher survival rates and better fruit quality. By following this step-by-step guide, home gardeners can transform a small garden into a productive melon patch, enjoying the fruits of their labor with minimal effort and maximum satisfaction.