Melons are one of the most rewarding fruits to grow at home. Their sweet, juicy flavor makes them a favorite in summer, and growing them in containers has become an increasingly popular solution for gardeners with limited space. Container gardening allows you to manage soil, water, and nutrients efficiently while reducing pests and diseases. With the right techniques, it’s possible to produce multiple fruits from a single melon plant, maximizing both yield and satisfaction. This guide provides a complete, step-by-step approach to growing melons in containers from seed to harvest, ensuring your home garden is both productive and beautiful.
Why Grow Melons in Containers?
Container gardening is not only space-efficient but also offers several other advantages:
1. Space Optimization
Even small patios, balconies, or rooftops can accommodate melons in containers, making it ideal for urban gardeners.
2. Soil and Nutrient Control
You can tailor the soil mix for optimal growth, preventing nutrient deficiencies and improving fruit quality.
3. Reduced Pest and Disease Pressure
Elevating plants in containers reduces contact with ground-borne pests and fungal infections.
4. Mobility
Containers can be moved to take advantage of sunlight or protect plants from harsh weather.
5. Maximized Yield
With proper care, pruning, and pollination, it’s possible to achieve multiple fruits per plant, increasing productivity per container.
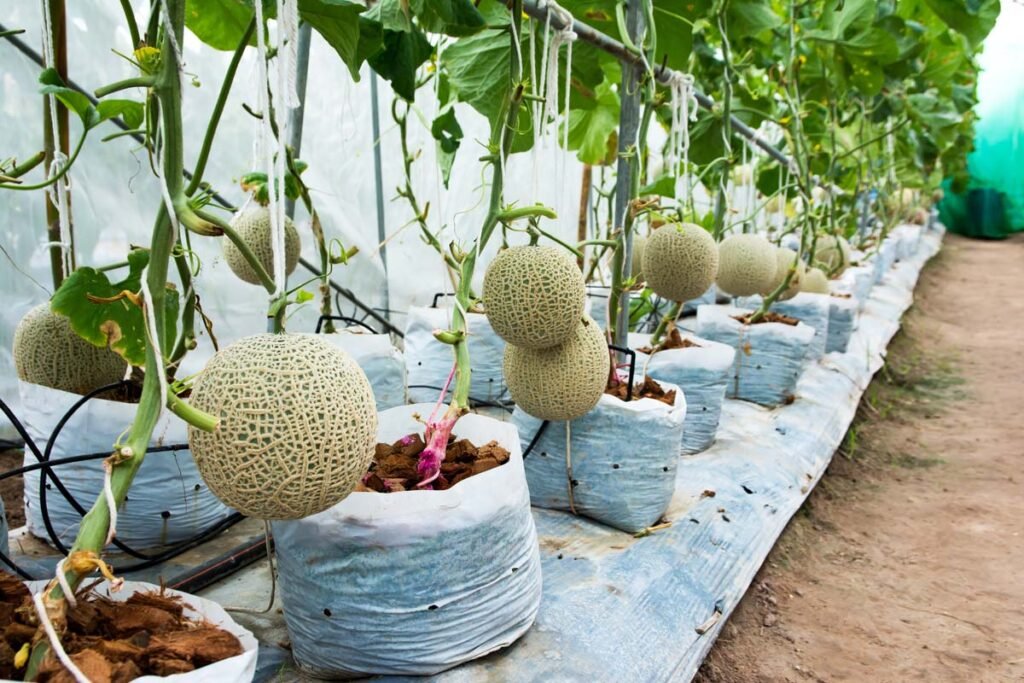
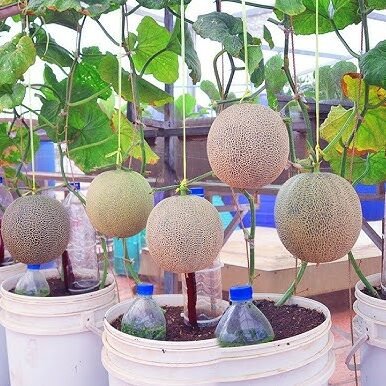
Step 1: Choosing the Right Container
Melons have long, spreading roots and heavy fruits, so selecting an appropriate container is crucial.
Container Recommendations
- Size: Minimum 30–50 liters per plant
- Depth: At least 12–18 inches to accommodate roots
- Material: Plastic, fabric grow bags, or clay pots
- Drainage: Ensure multiple drainage holes to prevent waterlogging
Tip: Place a layer of small stones or coarse sand at the bottom to improve drainage and prevent root rot.
Step 2: Preparing the Soil Mix
Melons thrive in nutrient-rich, well-draining soil.
Ideal Soil Mix
- 40% garden soil
- 30% compost or well-rotted cow manure
- 20% cocopeat or sand (for aeration)
- 10% vermicompost
Additional Boosters
- Bone meal or rock phosphate for root development
- Neem cake to prevent soil-borne pests
- Wood ash to enhance potassium levels for sweeter fruits
Mix all components thoroughly to create a fertile, airy medium that retains moisture while draining excess water.
Step 3: Selecting and Sowing Seeds
Melon varieties differ in growth habit and fruit size. Choose compact or bush varieties for containers, such as cantaloupe, honeydew, or small watermelon types.
Seed Preparation
- Soak seeds in warm water for 6–12 hours to enhance germination.
- Optionally, treat seeds with a mild fungicide or turmeric solution to prevent fungal infections.
Planting Method
- Fill the container with soil mix, leaving 2–3 inches at the top.
- Sow 2–3 seeds per planting hole, 1 inch deep.
- Space planting points at least 12–18 inches apart to allow vine growth.
- Water gently after sowing.
Germination
Seeds usually sprout within 7–10 days. Thin seedlings to one strong plant per container once they reach 3–4 inches.
Step 4: Sunlight Requirements
Melons are sun-loving plants.
- Provide 6–8 hours of direct sunlight daily
- In extremely hot climates, partial afternoon shade may prevent leaf scorching
Position containers in a sunny location, or rotate them to maximize light exposure.
Step 5: Watering and Moisture Management
Melons require consistent moisture, especially during flowering and fruiting.
Watering Tips
- Keep soil evenly moist but not soggy
- Water deeply once or twice a week, more frequently in hot weather
- Avoid wetting leaves directly to reduce fungal infections
Mulching
Apply straw, dry leaves, or coco chips around the base to conserve moisture, suppress weeds, and maintain soil temperature.
Step 6: Fertilizing for Multiple Fruits
Melons are heavy feeders. Fertilizing correctly encourages vigorous growth and multiple fruits.
Fertilizer Recommendations
- Organic fertilizers: Vermicompost, cow dung slurry, compost tea
- Balanced NPK fertilizer: 10:10:10 at half-strength
- Natural boosters: Banana peel powder, fish emulsion, wood ash
Fertilizing Schedule
- Vegetative stage (0–30 days): Nitrogen-rich fertilizers for leaf growth
- Flowering stage (30–60 days): Balanced fertilizer for vine and flower development
- Fruiting stage (60+ days): Potassium-rich fertilizers to increase fruit size and sweetness
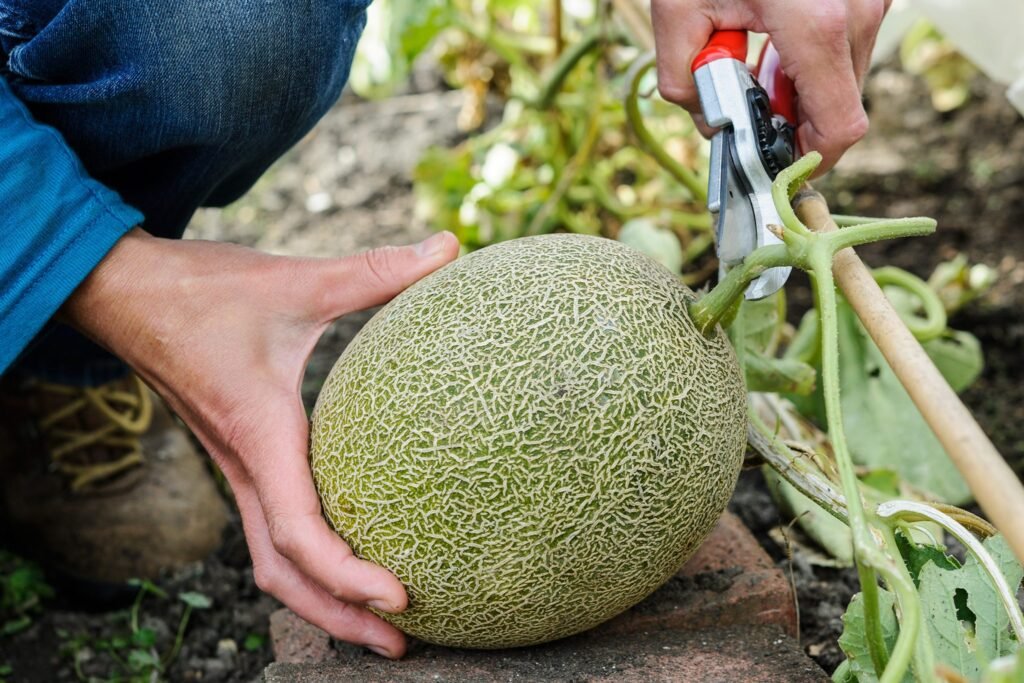
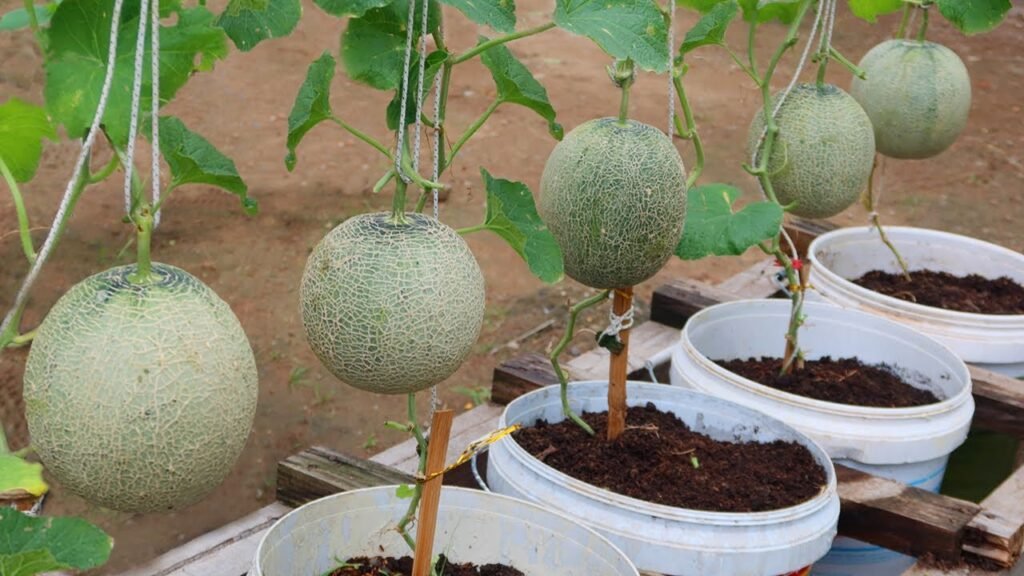
Step 7: Supporting the Vine
Melons are trailing plants and need support for optimal growth.
Support Options
- Trellis or netting: Train vines vertically to save space and improve air circulation
- Ground support: Allow lateral branches to spread on the soil in large containers
- Fruit slings: Support heavy fruits with soft cloth to prevent breakage
Step 8: Pollination for Multiple Fruits
Melons require pollination to produce fruits.
Natural Pollination
- Bees and insects transfer pollen from male to female flowers
Hand Pollination
- Use a soft brush or cotton swab to transfer pollen from male flowers to female flowers
- Helps ensure more fruits per plant, especially in urban settings with few pollinators
Step 9: Pruning and Training for Maximum Yield
Pruning is key to achieving multiple fruits per plant.
Pruning Tips
- Remove excess lateral shoots to focus energy on main vines
- Limit fruiting to 3–5 fruits initially, then gradually allow more as the plant strengthens
- Regularly remove yellowing or dead leaves
Proper pruning and training ensure the plant allocates energy to fruit development rather than excessive foliage.
Step 10: Pest and Disease Management
Container-grown melons are less prone to pests, but careful monitoring is essential.
Common Pests
- Aphids: Spray neem oil or soap water
- Red mites: Use neem or garlic spray
- Fruit flies: Cover young fruits with cloth or net
Common Diseases
- Powdery mildew: Ensure good air circulation, avoid wetting leaves
- Fusarium wilt: Prevent overwatering and use disease-free soil
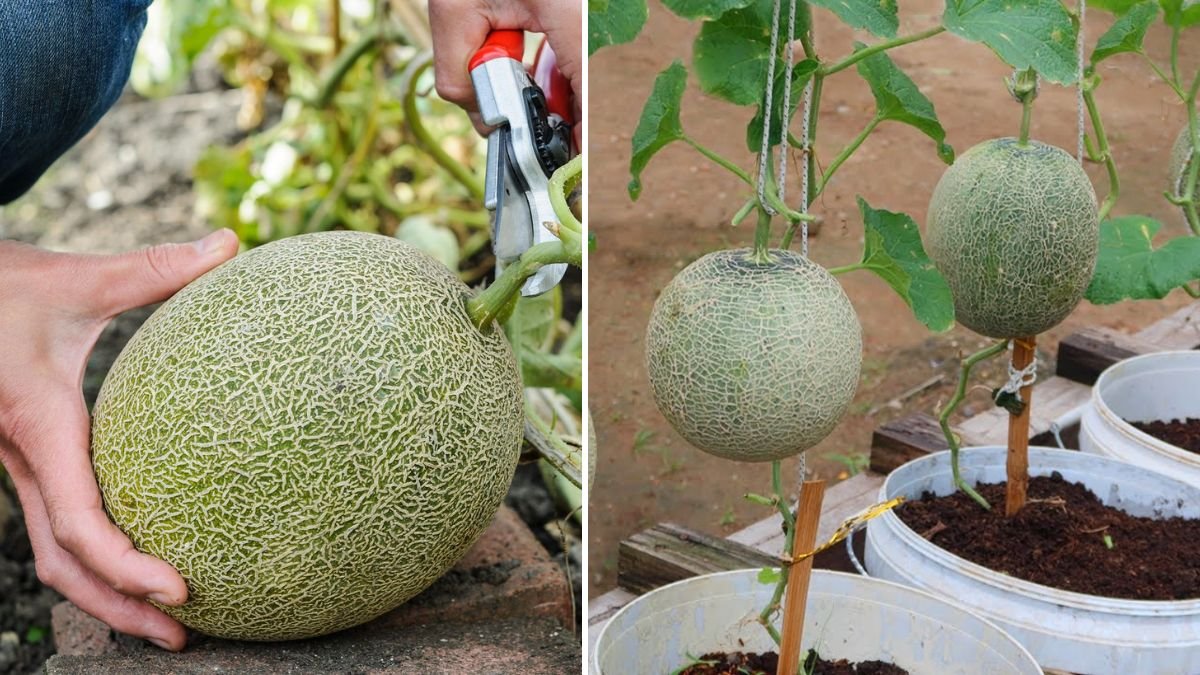
Step 11: Harvesting Melons
Melons are ready to harvest 70–90 days after sowing, depending on the variety.
Signs of Maturity
- Skin color changes to the variety-specific ripe color
- Fruit emits a sweet aroma
- Fruit detaches easily when gently lifted
Harvesting Tips
- Use a sharp knife to cut fruits from the vine
- Leave a short stem attached to prolong shelf life
- Handle fruits carefully to avoid bruising
Staggered Harvest
- By sowing seeds in intervals and proper pruning, you can maintain a continuous harvest from your container melon garden.
Advantages of Growing Multiple Fruits per Container Plant
- Maximizes yield in limited space
- Reduces resource waste, focusing energy on fewer, healthier fruits
- Encourages better fruit quality and size
- Space-saving method suitable for balconies, terraces, or rooftops
- Educational and rewarding for gardeners of all levels
Bonus Tips for Success
- Paint containers white or light colors to reflect heat and prevent root damage
- Use slow-release fertilizers for consistent nutrition
- Water in the morning to reduce fungal growth in the evening
- Support vines early to avoid tangling or breaking under fruit weight
- Rotate containers annually or change soil to maintain fertility and reduce disease risk
Conclusion
Growing melons in containers is a practical, rewarding, and space-efficient way to enjoy fresh, sweet fruits at home. By selecting the right container, preparing nutrient-rich soil, and following proper watering, fertilizing, and pruning techniques, it’s possible to achieve multiple fruits per plant, maximizing both yield and flavor.
Container-grown melons also offer urban gardeners the opportunity to control their growing environment, reduce pest and disease issues, and enjoy chemical-free produce. With patience and proper care, a single melon plant in a container can provide a continuous supply of delicious fruits throughout the growing season.
Start your container melon garden today, and experience the joy of harvesting multiple home-grown melons from just a few plants!