Long beans, also known as yardlong beans or asparagus beans, are a popular vegetable in Asian cuisine and a great addition to any home garden. They are nutritious, high in protein, and incredibly versatile in the kitchen. What if you could grow them at home without a traditional garden bed? Using recycled sacks as containers is an eco-friendly and space-saving method to cultivate long beans, even in small spaces like balconies, terraces, or patios. This step-by-step guide will take you from planting seeds to harvesting a bountiful crop.
Why Grow Long Beans in Recycle Sacks?
Recycling old sacks for planting long beans offers multiple advantages:
1. Space-Saving
- Perfect for urban gardening or homes with limited space.
- Vertical or stacked placement allows more plants in a small area.
2. Cost-Effective
- Reuse sacks instead of buying expensive pots or planters.
3. Mobility
- Lightweight sacks can be moved easily to adjust sunlight or protect plants from harsh weather.
4. Soil Control
- You can manage the soil type and nutrients, ensuring healthy growth.
5. Sustainability
- Eco-friendly gardening by repurposing old sacks reduces waste.
Step 1: Selecting and Preparing Recycled Sacks
Choosing Sacks
- Use sturdy sacks made of jute, burlap, or thick plastic.
- Ensure the sacks are clean and free from chemicals or residues.
- Size: 18–24 inches tall and 12–18 inches wide for optimal root growth.
Preparing Sacks
- Wash the sacks thoroughly if needed.
- Punch multiple drainage holes at the bottom to prevent waterlogging.
- Optionally, line the inside with a plastic sheet with holes to maintain soil moisture while preventing leakage.
Step 2: Preparing the Soil Mix
Long beans prefer well-draining, nutrient-rich soil.
Ideal Soil Mix
- 40% garden soil
- 30% compost or well-rotted manure
- 20% cocopeat or sand (for aeration)
- 10% vermicompost
Additional Boosters
- Bone meal or rock phosphate: supports strong root growth
- Neem cake: prevents soil pests and improves soil fertility
Mix all components thoroughly to create a balanced, fertile medium for planting.
Step 3: Selecting and Soaking Seeds
Choosing Seeds
- Select healthy, fresh long bean seeds.
- Choose varieties suited for container growth (bush or semi-climbing types work well).
Seed Preparation
- Soak seeds in warm water for 6–12 hours before planting.
- Optional: Treat seeds with a mild fungicide solution to prevent early fungal infections.
Step 4: Sowing Seeds in Recycle Sacks
Planting Method
- Fill sacks with the prepared soil mix, leaving 2–3 inches at the top.
- Sow 2–3 seeds per sack, about 1 inch deep.
- Lightly cover the seeds with soil and press gently.
- Water immediately to ensure proper seed-to-soil contact.
Seed Spacing
- Keep seeds 6–8 inches apart for bush varieties
- For climbing types, plant closer to the edges to allow room for trellis support
Germination
- Seeds typically germinate in 7–10 days, depending on temperature and moisture.
Step 5: Watering and Moisture Management
Long beans need consistent moisture for strong growth and pod production.
Watering Guidelines
- Keep soil evenly moist, but not waterlogged.
- Water gently at the base to avoid washing away young seedlings.
- Reduce watering slightly once pods begin to form to improve pod flavor.
Mulching
- Use straw, dry leaves, or grass clippings to conserve moisture and suppress weeds.
Step 6: Sunlight Requirements
Long beans are sun-loving plants.
- Provide 6–8 hours of direct sunlight per day
- For hot climates, partial afternoon shade may prevent leaf scorching
Place the recycle sacks in a sunny location or rotate them throughout the day for even sunlight exposure.
Step 7: Fertilizing Long Beans
Long beans are legumes, so they can fix nitrogen from the atmosphere, but they still benefit from additional nutrients for better growth and yield.
Recommended Fertilizers
- Organic: Vermicompost, compost tea, cow manure
- Balanced NPK: 10:10:10 at half-strength
- Natural boosters: Fish emulsion or wood ash
Fertilizing Schedule
- Seedling stage (0–3 weeks): Light organic fertilizer to promote leaf and root growth
- Flowering stage (3–6 weeks): Balanced fertilizer to support flower and pod formation
- Fruiting stage (6+ weeks): Potassium-rich fertilizer for bigger, healthier pods
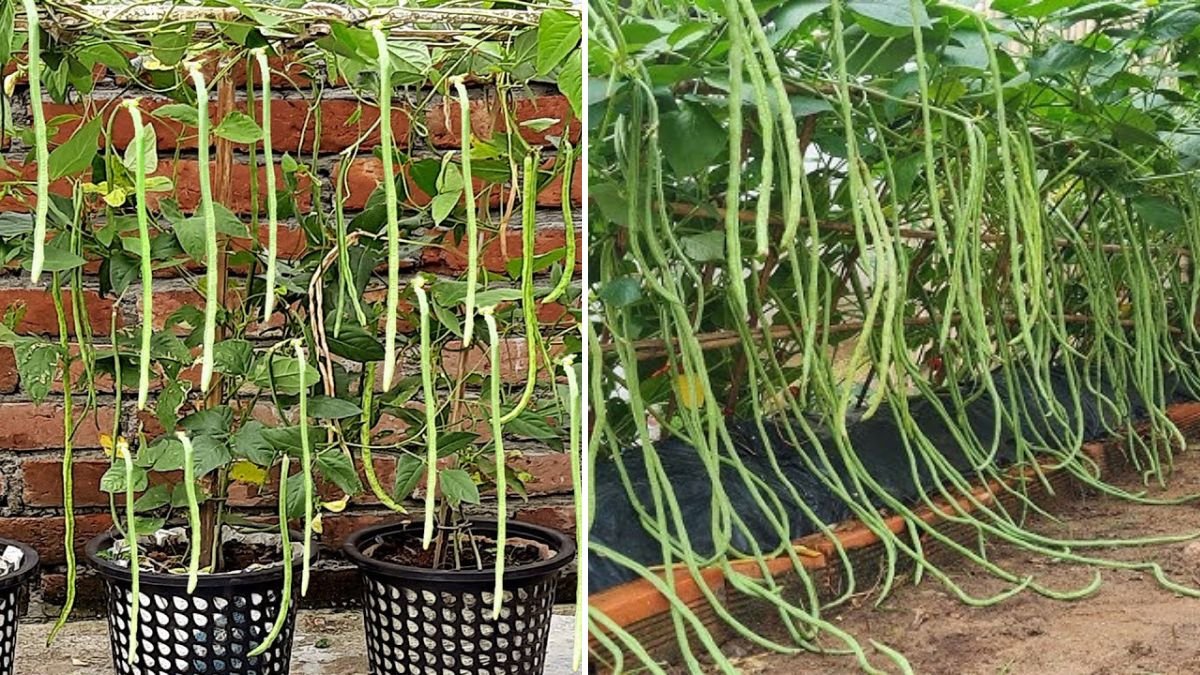
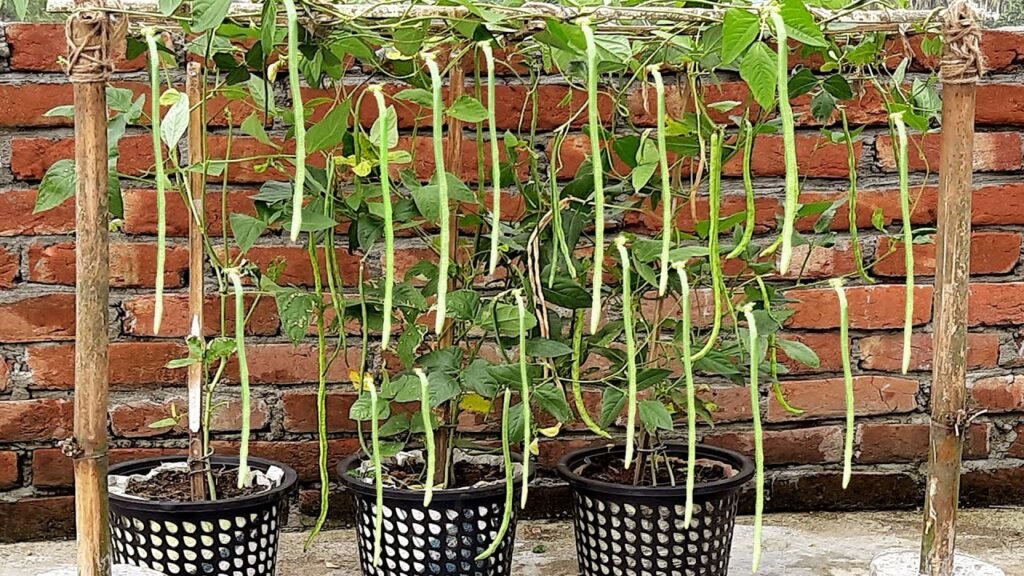
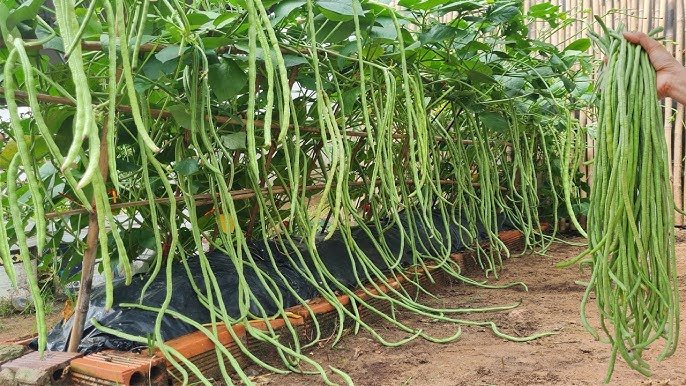
Step 8: Supporting Climbing Varieties
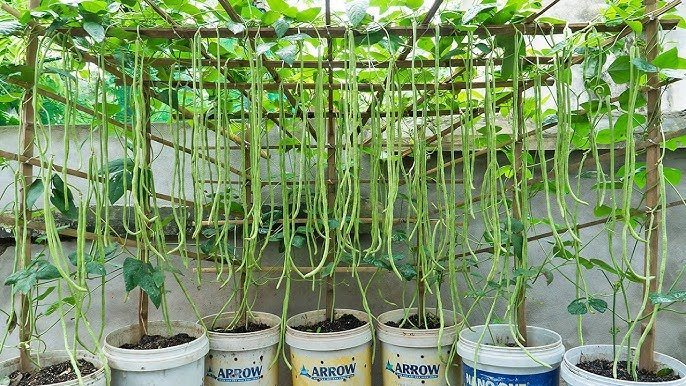
Climbing long beans require a trellis or support system to grow vertically.
Support Tips
- Use bamboo sticks, netting, or strings tied to walls or poles
- Train vines gently upward to avoid breaking stems
- For bush varieties, minimal support is needed, just a small stick to prevent bending
Pruning
- Remove dead or yellowing leaves to improve airflow
- Trim excessive side shoots if they overcrowd the plant
Step 9: Pest and Disease Management
Container-grown long beans are generally healthier but still need vigilance.
Common Pests
- Aphids: Spray neem oil or mild soap solution
- Thrips: Use sticky traps or neem oil
- Red mites: Water spray or neem-based treatment
Common Diseases
- Powdery mildew: Avoid wetting leaves; spray neem or milk solution
- Fusarium wilt: Use disease-free soil and maintain proper drainage
Step 10: Flowering and Pod Development
Long beans produce flowers that develop into pods quickly.
Pollination
- Mostly self-pollinating, but insects like bees improve pod set
- Hand pollination can increase yield in areas with few pollinators
Tips for Multiple Fruits
- Limit initial flower clusters to allow the plant to develop strong stems
- Gradually allow more flowers as vines strengthen
- Harvest pods regularly to encourage continuous flowering
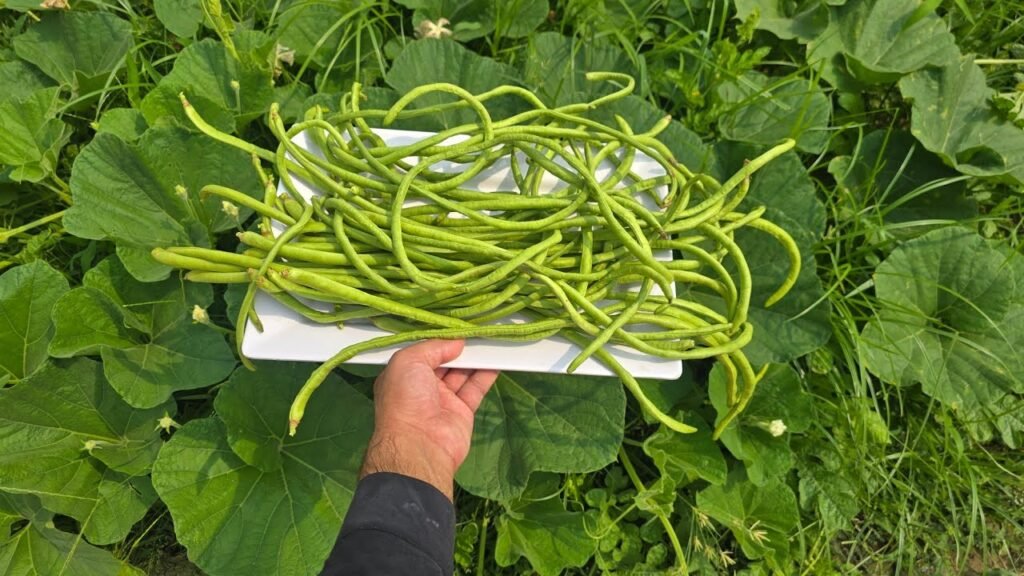
Step 11: Harvesting Long Beans
Long beans are usually ready for harvest 50–60 days after sowing, depending on the variety.
Signs of Maturity
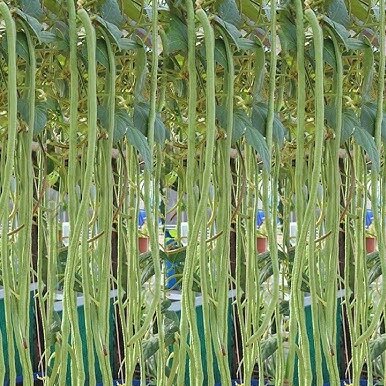
- Pods reach 12–18 inches long (depending on variety)
- Firm, crisp texture with bright green color
- Seeds inside pods are small and undeveloped
Harvesting Method
- Pick pods gently to avoid damaging vines
- Harvest regularly to encourage continuous pod production
- Avoid leaving pods on the plant too long as it reduces overall yield
Storage
- Can be stored for 3–5 days in the refrigerator
- For longer storage, blanch and freeze
Benefits of Growing Long Beans in Recycle Sacks
- Space-Saving: Ideal for balconies, terraces, or small gardens
- Cost-Effective: Reuses old sacks, reducing expenses
- Controlled Growth: Soil, water, and nutrients can be managed easily
- Continuous Harvest: Regular pod picking promotes more flowers and fruits
- Eco-Friendly: Supports sustainable gardening practices
Bonus Tips for Success
- Rotate sacks or move them periodically for even sunlight exposure
- Use slow-release fertilizers for long-term nutrition
- Water in the morning to prevent fungal growth
- Provide adequate trellis support early for climbing varieties
- Mulch heavily to retain soil moisture and suppress weeds
Conclusion
Growing long beans in recycled sacks is a practical, eco-friendly, and rewarding gardening method for both beginners and experienced gardeners. By choosing healthy seeds, preparing nutrient-rich soil, providing adequate sunlight, supporting climbing vines, and practicing consistent watering and fertilization, you can enjoy a bountiful harvest of fresh, crisp long beans right from your home.
This sustainable gardening method not only maximizes limited space but also reduces waste by repurposing old sacks. With patience and proper care, your container-grown long beans will flourish, providing delicious and nutritious vegetables for your kitchen throughout the growing season.