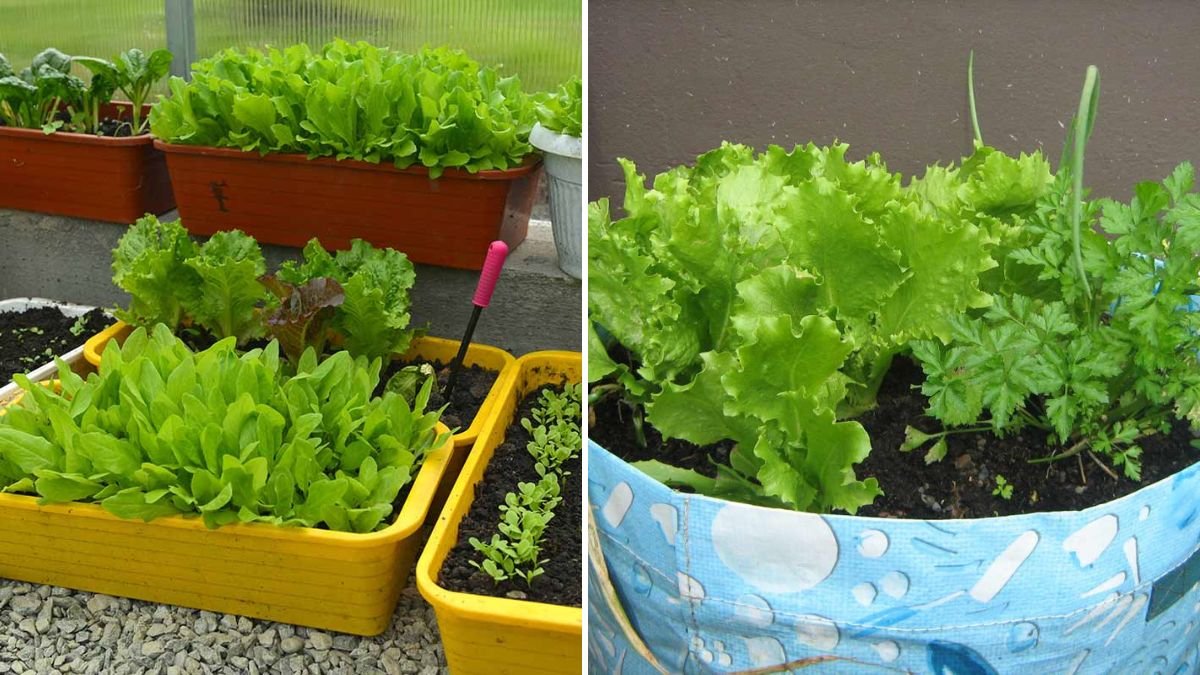
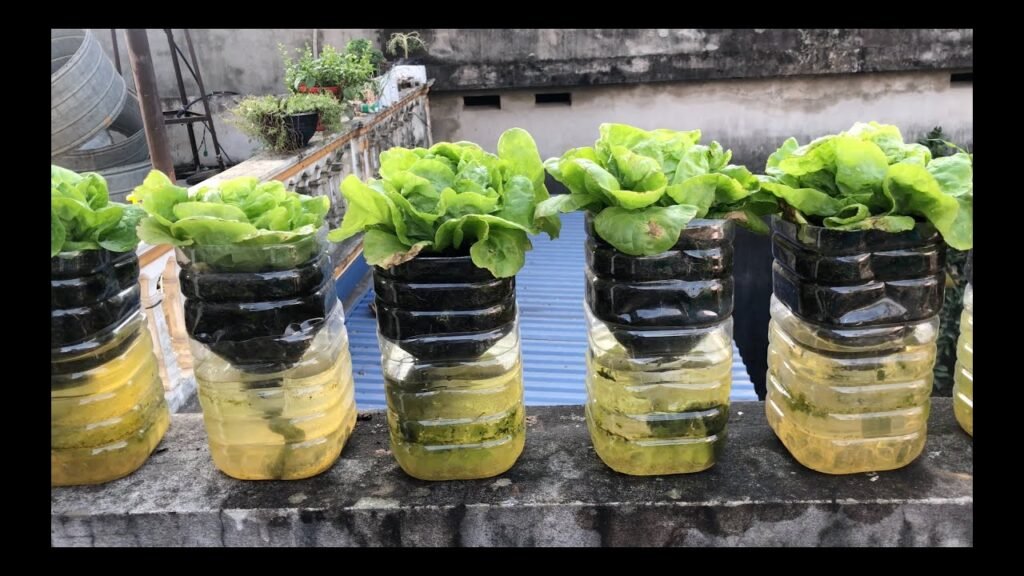
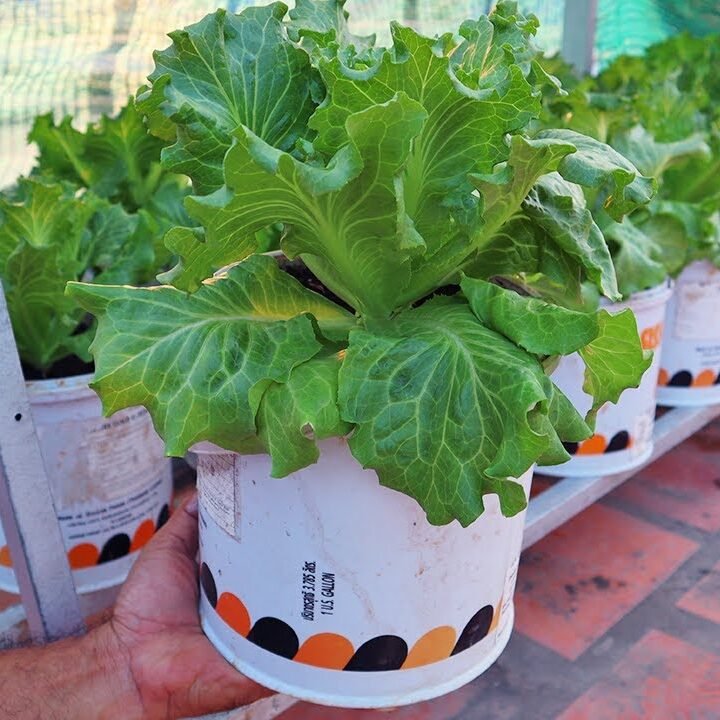
Lettuce is one of the easiest and most rewarding vegetables to grow at home. It is crisp, nutritious, and adds fresh flavor to salads, sandwiches, and wraps. Growing lettuce in plastic pots is perfect for urban gardeners, balcony growers, or anyone with limited garden space. With proper care, you can enjoy fresh, chemical-free lettuce throughout the year. This guide will take you through the process of growing lettuce in plastic pots—from sowing seeds to harvesting healthy, vibrant leaves.
Why Grow Lettuce in Plastic Pots?
Container gardening offers several advantages, especially for leafy vegetables like lettuce:
1. Space-Saving
Plastic pots can be placed on balconies, terraces, patios, or even windowsills, making lettuce cultivation accessible to everyone.
2. Soil and Nutrient Control
You can manage the soil quality, nutrients, and pH levels, which is critical for soft, tender lettuce leaves.
3. Reduced Pests and Diseases
Growing lettuce in pots minimizes the risk of soil-borne diseases and pests that are common in open fields.
4. Mobility
Plastic pots are lightweight and portable, allowing you to move plants for optimal sunlight or protection from harsh weather.
5. Year-Round Harvest
By using pots, you can stagger planting times and enjoy fresh lettuce continuously.
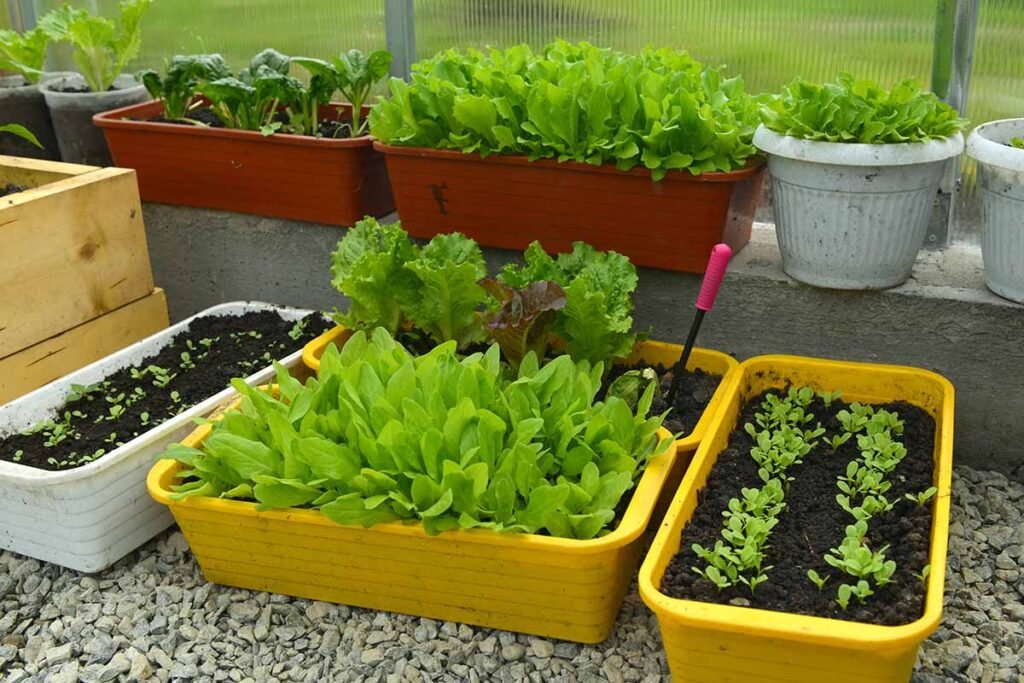
Step 1: Choosing the Right Plastic Pots
The choice of container is critical for lettuce success.
Pot Recommendations
- Size: Minimum 8–12 inches deep and wide per plant for good root development
- Material: Any sturdy plastic pot with drainage holes at the bottom
- Drainage: Essential to prevent waterlogging and root rot
Tip: Use saucers under pots to catch excess water and avoid mess, especially if placing them indoors.
Step 2: Preparing the Soil Mix
Lettuce prefers well-draining, fertile soil.
Ideal Soil Mix
- 40% garden soil
- 30% compost or well-rotted manure
- 20% cocopeat or sand for aeration
- 10% vermicompost for added nutrients
Additional Boosters
- Bone meal: Supports strong root growth
- Wood ash: Provides potassium for healthy leaves
- Neem cake: Protects against soil pests
Mix all ingredients thoroughly to ensure uniform fertility and drainage.
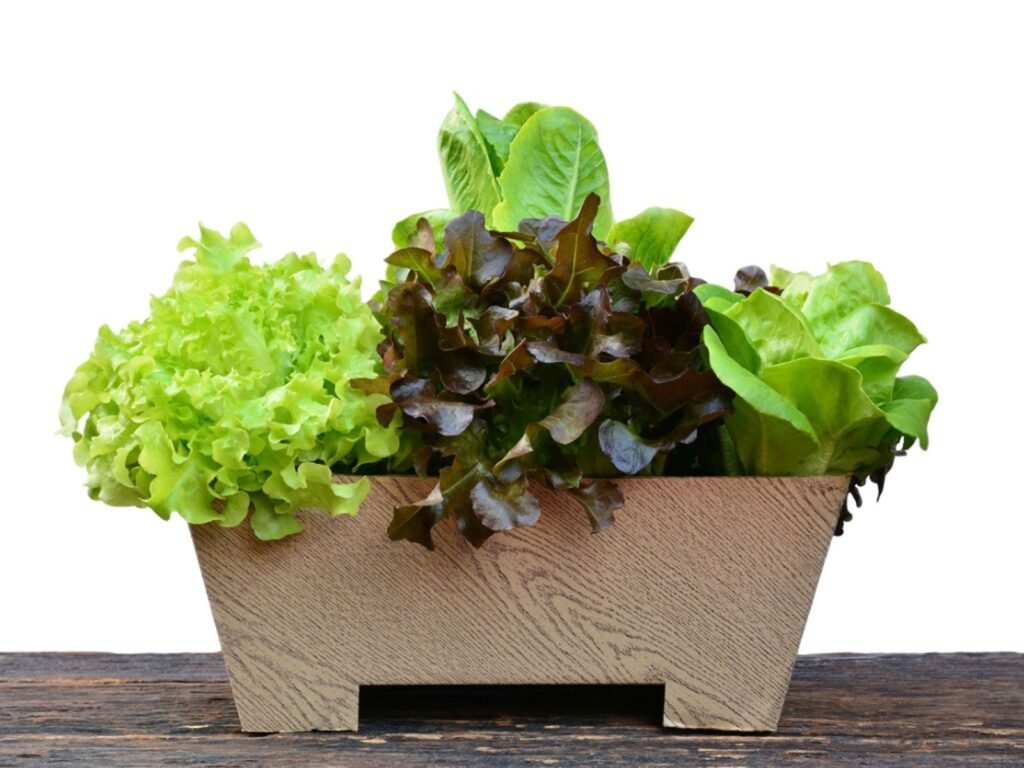
Step 3: Selecting and Sowing Lettuce Seeds
Choosing Seeds
- Select fresh, high-quality seeds for faster germination and strong seedlings
- Varieties: Butterhead, Romaine, Iceberg, or Loose-leaf types are all suitable for pots
Seed Sowing
- Fill pots with prepared soil, leaving 1–2 inches at the top.
- Sprinkle seeds lightly over the soil surface for loose-leaf varieties or make shallow holes (¼ inch) for head varieties.
- Cover lightly with a thin layer of soil.
- Water gently using a fine mist spray to avoid displacing seeds.
Germination
- Lettuce seeds typically germinate in 7–14 days, depending on temperature and moisture.
- Keep the soil consistently moist but not waterlogged during this period.
Step 4: Watering Lettuce in Pots
Lettuce has shallow roots, so consistent watering is crucial.
Watering Guidelines
- Keep the soil evenly moist, never letting it dry out completely
- Water at the base of the plant to avoid wetting leaves and prevent fungal infections
- Water in the morning to allow leaves to dry during the day
Mulching
- Apply a thin layer of straw or dry leaves on the soil surface
- Benefits: Conserves moisture, reduces soil temperature, and suppresses weeds
Step 5: Sunlight and Temperature Requirements
Lettuce grows best in cool, sunny conditions.
Sunlight
- 4–6 hours of direct sunlight daily for optimal growth
- In hot climates, provide light afternoon shade to prevent bolting
Temperature
- Ideal range: 60–70°F (15–21°C)
- High temperatures can cause bitterness and premature flowering (bolting)
Tip: Place pots in areas with morning sun and afternoon shade for the best results.
Step 6: Fertilizing Lettuce
Lettuce is a leafy vegetable and benefits from regular feeding.
Fertilizer Recommendations
- Organic fertilizers: Vermicompost tea, cow manure slurry
- Balanced NPK fertilizer (10:10:10) at half-strength
- Natural boosters: Fish emulsion, banana peel powder
Fertilizing Schedule
- Seedling stage (0–3 weeks): Light organic fertilizer to promote root and leaf development
- Growth stage (3–6 weeks): Fertilize every 10–14 days for continuous leaf production
- Avoid over-fertilizing: Too much nitrogen can cause excessive leaves and reduced flavor
Step 7: Thinning and Spacing
Proper spacing ensures good air circulation and healthy leaves.
Thinning
- Thin seedlings when they have 2–3 true leaves
- Space loose-leaf varieties 6–8 inches apart
- Space head varieties 10–12 inches apart
Tip: Use scissors to cut unwanted seedlings at soil level to avoid disturbing roots.
Step 8: Pest and Disease Management
Even in pots, lettuce can attract pests and diseases.
Common Pests
- Aphids: Spray neem oil or mild soap solution
- Slugs and snails: Hand-pick or use organic traps
- Whiteflies: Yellow sticky traps or neem spray
Common Diseases
- Downy mildew: Avoid overhead watering, improve air circulation
- Leaf spot: Remove affected leaves and avoid overcrowding
- Damping-off: Ensure proper drainage and avoid overwatering
Step 9: Harvesting Lettuce
Lettuce can be harvested 4–8 weeks after sowing, depending on variety.
Harvest Methods
- Loose-leaf varieties: Pick outer leaves regularly, allowing the inner leaves to grow continuously
- Head varieties: Harvest the entire head when firm and fully grown
- Use a sharp knife or scissors to avoid damaging the plant
Frequency
- Continuous harvesting promotes new growth and extends the production period
- Avoid letting leaves flower, as they become bitter
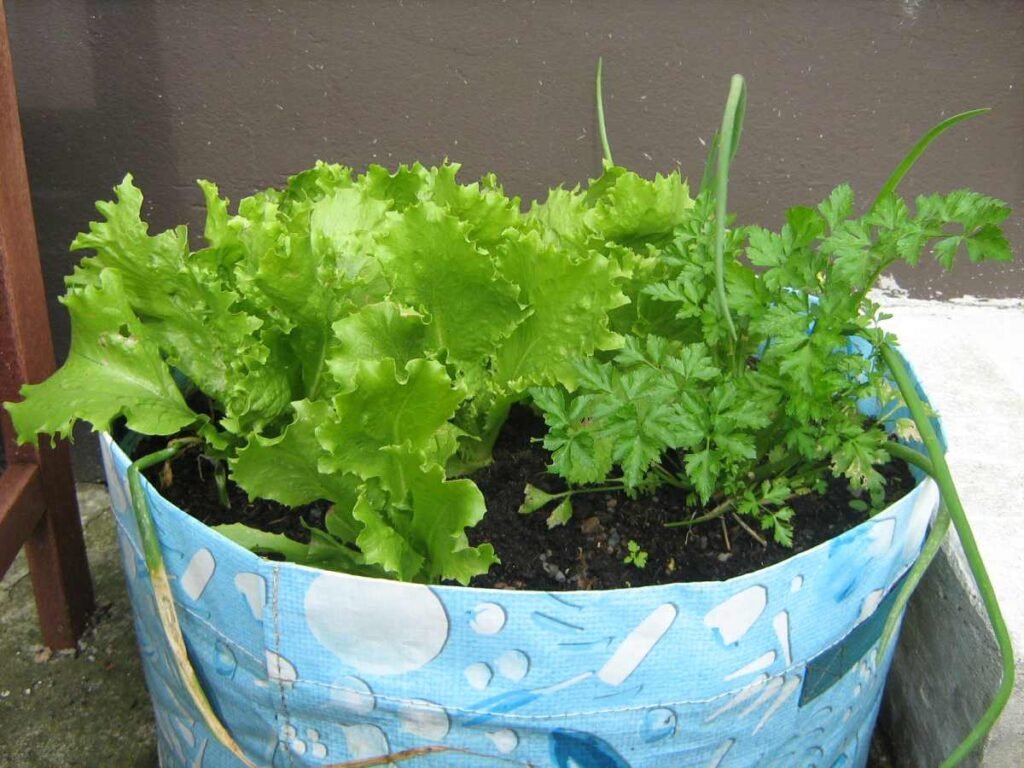
Benefits of Growing Lettuce in Plastic Pots
- Space-Efficient: Ideal for urban gardens, balconies, or small patios
- Cost-Effective: Plastic pots are affordable and reusable
- Controlled Environment: Reduce pests, disease, and soil issues
- Year-Round Harvest: Multiple sowings allow continuous supply
- Fresh and Nutritious: Chemical-free, flavorful lettuce for your meals
Bonus Tips for Success
- Rotate pots regularly for even sunlight exposure
- Use lightweight, nutrient-rich potting mix for faster growth
- Harvest leaves in the morning for maximum crispness
- Avoid overcrowding to maintain airflow and reduce disease
- Keep pots elevated or on trays to prevent waterlogging
Conclusion
Growing lettuce in plastic pots is easy, practical, and highly rewarding, even for beginners. By selecting quality seeds, preparing nutrient-rich soil, providing proper watering, sunlight, and fertilization, you can enjoy fresh, crispy lettuce all year round. Plastic pots offer the flexibility of urban gardening, enabling you to cultivate healthy, delicious lettuce even in limited spaces.
With consistent care, proper thinning, and timely harvesting, your container-grown lettuce will thrive, adding a continuous supply of fresh, nutritious greens to your table. Start today, and enjoy the satisfaction of harvesting home-grown, chemical-free lettuce from your very own pots.