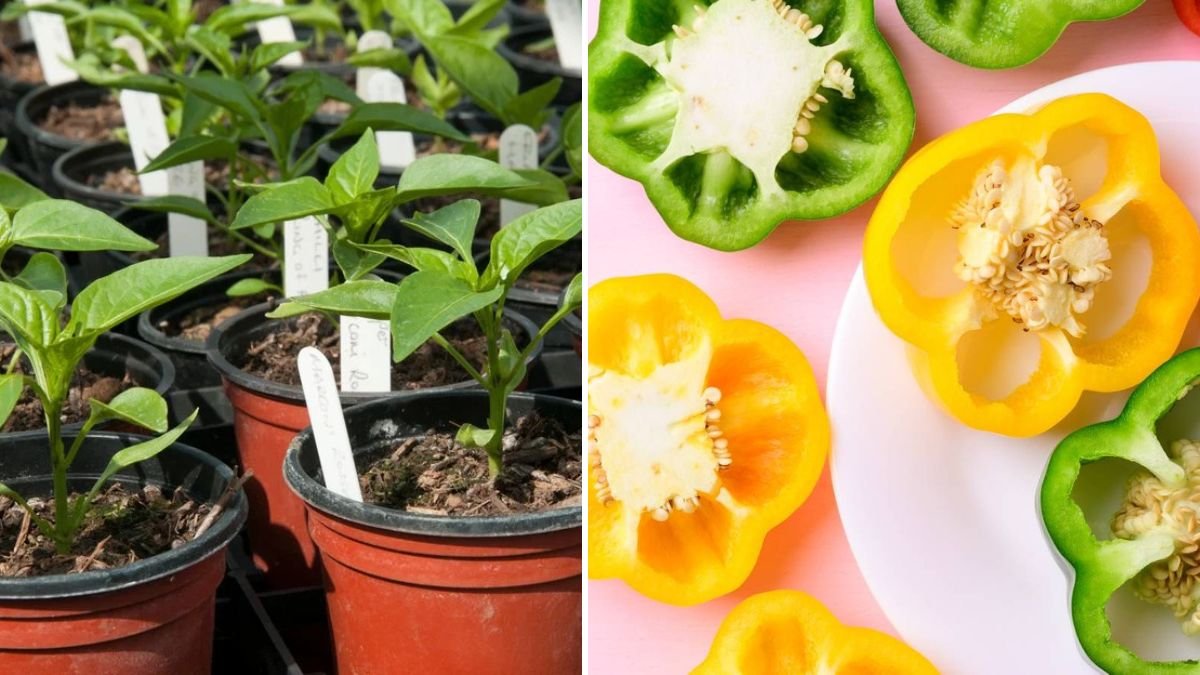
Bell peppers are one of the most rewarding vegetables to grow at home. Their vibrant colors, sweet flavor, and high nutritional value make them a favorite for salads, stir-fries, and stuffing. However, like many fruiting plants, bell peppers require strong, healthy seedlings to thrive and produce abundant fruits. Starting with weak seedlings often results in stunted plants, fewer flowers, and a disappointing harvest.
This step-by-step guide will take you through the process of growing bell pepper seedlings successfully, from choosing the right seeds to preparing containers, sowing, caring for seedlings, and transplanting them into your garden or larger containers.
1. Choosing the Right Bell Pepper Seeds
The first step to successful bell pepper cultivation is selecting the right variety. Consider your climate, growing season, and desired fruit characteristics.
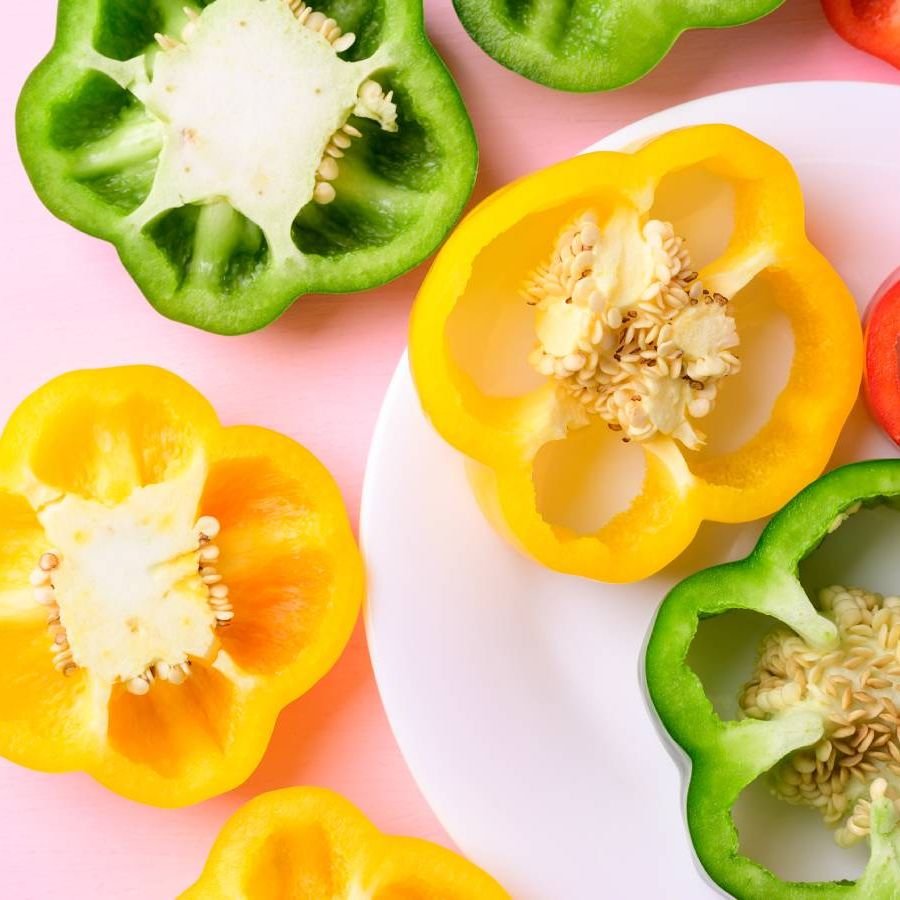
Popular Bell Pepper Varieties
- Sweet Bell: Red, yellow, orange varieties; great for salads and stuffing.
- Mini Bell: Smaller, compact fruits; ideal for container gardening.
- California Wonder: Classic large bell pepper; disease-resistant.
- Yolo Wonder: Early maturing and highly productive.
Tips for Selecting Seeds
- Buy seeds from reputable suppliers to ensure germination.
- Check the packet for days to maturity; bell peppers are slow growers, often 60–90 days from transplant.
- Consider hybrid varieties for disease resistance and higher yields.
2. Preparing Seedling Containers
Bell peppers can be started in a variety of containers, depending on available space:
- Seed trays – Perfect for multiple seedlings in a small area.
- Small pots or cups – Easy to manage individually.
- Recycled containers – Yogurt cups or small tubs, just ensure proper drainage.
Drainage Is Key
Bell pepper roots are sensitive to waterlogging. Ensure each container has drainage holes to prevent root rot.
3. Preparing the Seed-Starting Mix
Bell peppers need a light, well-draining medium to support root development and prevent damping-off disease.
Recommended Seed Mix
40% cocopeat or peat moss
30% vermicompost
20% perlite or coarse sand
10% garden soil (optional)
Optional Additives
- Neem cake powder to deter pests
- Bone meal for early root development
- Trichoderma powder for fungal protection
Tip: The soil should be moist but not soggy, and fluffy to allow easy root penetration.
4. Sowing Bell Pepper Seeds
Sowing correctly sets the foundation for strong seedlings.
Step-by-Step Guide
- Fill containers with the seed mix.
- Moisten the mix lightly before sowing.
- Make holes 0.5–1 cm deep.
- Place 1–2 seeds per hole.
- Cover lightly with soil.
- Mist the surface gently.
- Cover with a plastic lid or cling wrap to retain moisture.
Ideal Conditions for Germination
- Temperature: 22–28°C
- Light: Indirect bright light during germination
- Germination time: 7–14 days, depending on variety
Tip: Avoid overwatering; excess moisture can cause seeds to rot.
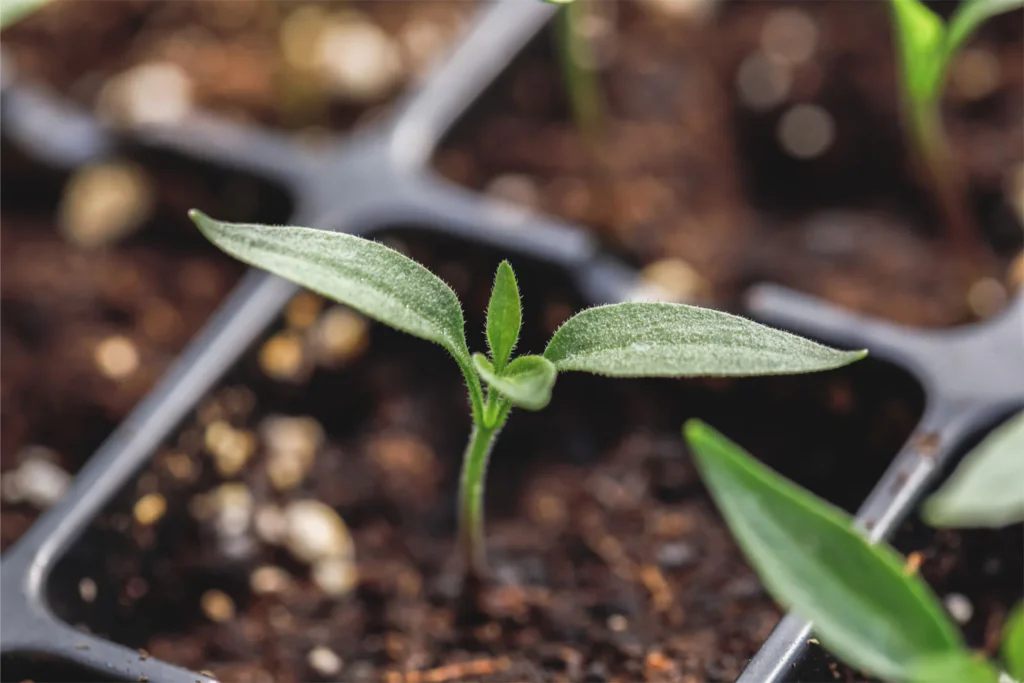
5. Providing Light and Temperature
Once seeds germinate, seedlings need ample light and warmth to grow strong.
Sunlight
- 6–8 hours of bright light daily
- Avoid harsh midday sun for young seedlings
Artificial Light
- Use LED grow lights 12–14 hours a day if sunlight is limited
- Position lights 12–18 inches above seedlings
Temperature
- Ideal: 22–25°C during the day, 18–20°C at night
- Avoid temperatures below 15°C, which slow growth
Tip: Proper light prevents seedlings from becoming leggy with weak stems.
6. Watering Bell Pepper Seedlings
Bell peppers need consistent moisture but dislike waterlogged roots.
Watering Tips
- Water when the top layer feels dry
- Use a spray bottle for gentle watering
- Avoid wetting leaves too frequently to prevent fungal issues
- Ensure containers drain well
Tip: Morning watering is ideal to allow leaves to dry during the day.
7. Feeding Seedlings
Seedlings initially get nutrients from the seed itself, but after 2–3 weeks, supplemental feeding is beneficial.
Organic Fertilizer Options
- Liquid vermicompost
- Seaweed extract (diluted 1:30)
- Mild organic nutrient solution
Feed every 7–10 days for optimal growth. Avoid strong chemical fertilizers, which can burn young roots.
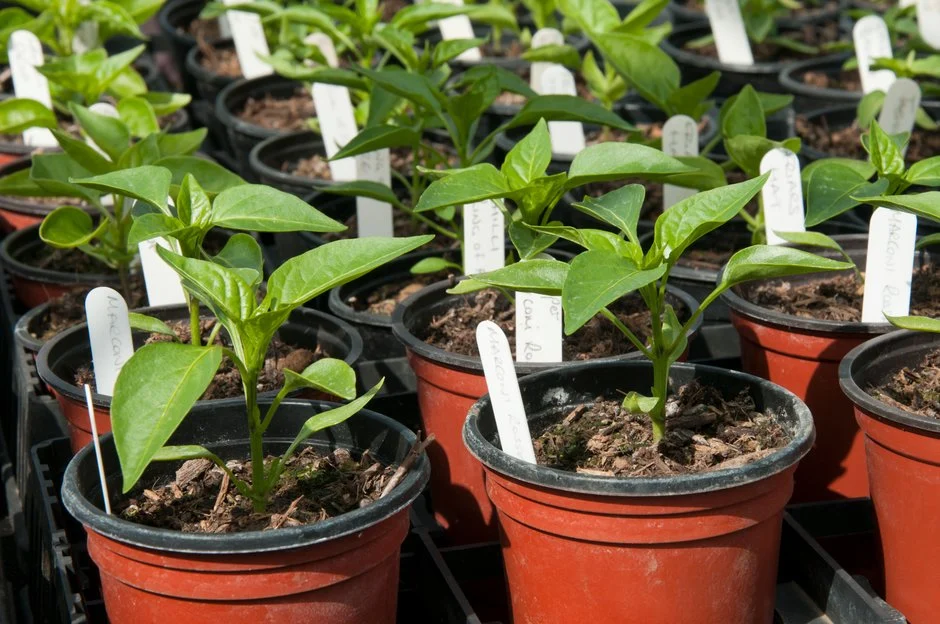
8. Thinning and Pricking Out Seedlings
Once seedlings develop 2–3 true leaves, they may need thinning or transplanting into individual pots.
Pricking Out Steps
- Water seedlings beforehand.
- Gently lift each seedling by the leaf base, not the stem.
- Plant in a larger container with fresh soil mix.
- Bury the stem slightly deeper to encourage root growth.
- Water lightly and keep in shade for 1–2 days.
Tip: Thinning ensures each seedling has enough space and nutrients for strong growth.
9. Hardening Off Seedlings

Before transplanting into the garden or larger containers, seedlings must acclimate to outdoor conditions.
Hardening Steps (7–10 days)
- Day 1–2: Place seedlings outdoors in shade for 1–2 hours
- Day 3–4: Increase sun exposure gradually
- Day 5–6: Allow morning sun and afternoon shade
- Day 7–10: Leave seedlings outdoors longer each day, adjusting to direct sunlight
Tip: Hardening reduces transplant shock and strengthens plants for outdoor growth.
10. Transplanting Bell Pepper Seedlings
When seedlings are 6–8 inches tall and have 4–5 true leaves, they’re ready to transplant.
Transplanting Steps
- Choose a well-draining site with full sun.
- Prepare containers or garden soil enriched with compost.
- Dig holes slightly larger than the seedling root ball.
- Plant seedlings slightly deeper than before to strengthen stems.
- Space plants 12–18 inches apart to allow air circulation.
- Water immediately after transplanting.
- Mulch around seedlings to retain moisture and reduce weeds.
Tip: Avoid transplanting during the hottest part of the day.
11. Post-Transplant Care
- Water regularly but avoid overwatering
- Fertilize with a balanced organic fertilizer every 2–3 weeks
- Use stakes or small cages for support if needed
- Monitor for pests like aphids, whiteflies, and caterpillars
Strong seedlings lead to healthy plants, better flowering, and bigger bell peppers.
12. Common Issues and How to Avoid Them
Leggy Seedlings
- Cause: Insufficient light
- Solution: Provide brighter light or move seedlings outdoors
Damping-Off
- Cause: Overwatering and poor airflow
- Solution: Use well-draining soil, water carefully, and provide ventilation
Slow Growth
- Cause: Nutrient deficiency or low temperatures
- Solution: Use organic fertilizers and maintain optimal temperature
Pests
- Aphids, spider mites, and whiteflies
- Control: Neem oil spray, garlic-chili solution, or handpicking
Final Thoughts: Strong Seedlings for a Bountiful Harvest
The journey from tiny bell pepper seeds to robust seedlings is critical for a successful harvest. Healthy seedlings develop thick stems, deep roots, and the resilience needed to thrive in your garden or containers. By carefully following the steps outlined—choosing quality seeds, preparing the right soil mix, ensuring proper light, watering, feeding, and transplanting—you can grow bell pepper plants that produce vibrant, sweet, and abundant fruits.
Starting bell peppers from seed may take patience, but the reward of homegrown, chemical-free bell peppers is worth every step. With proper care and attention to seedlings, you’ll enjoy a colorful, nutritious, and productive garden season after season.